
In order to use the online scheduling interface, there is some manual setup required at this time. We intend to automate these settings in the future. When we do automate them, we will also open it up to be more dynamic per company to help fit your scheduling needs. For the time being, please follow the steps listed below.
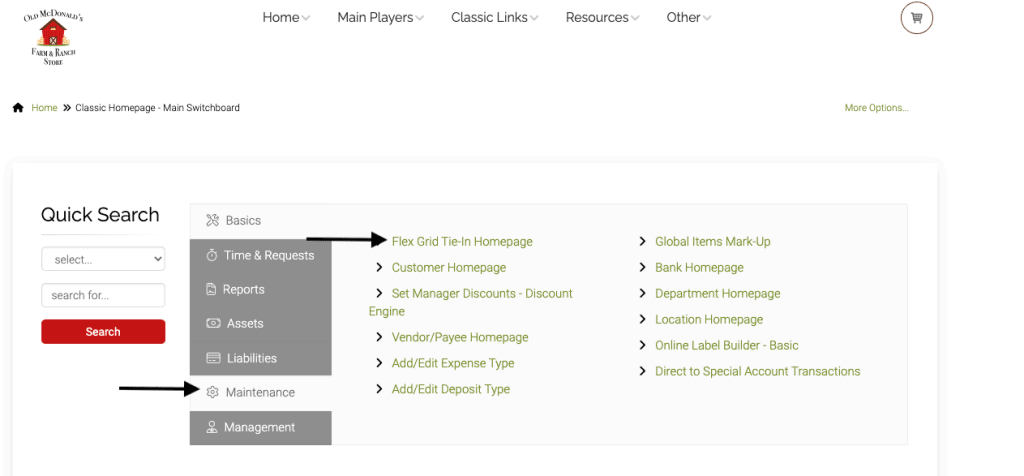
1.)From the Classic Homepage, go to Maintenance Homepage, then Flex Grid Tie In Homepage.
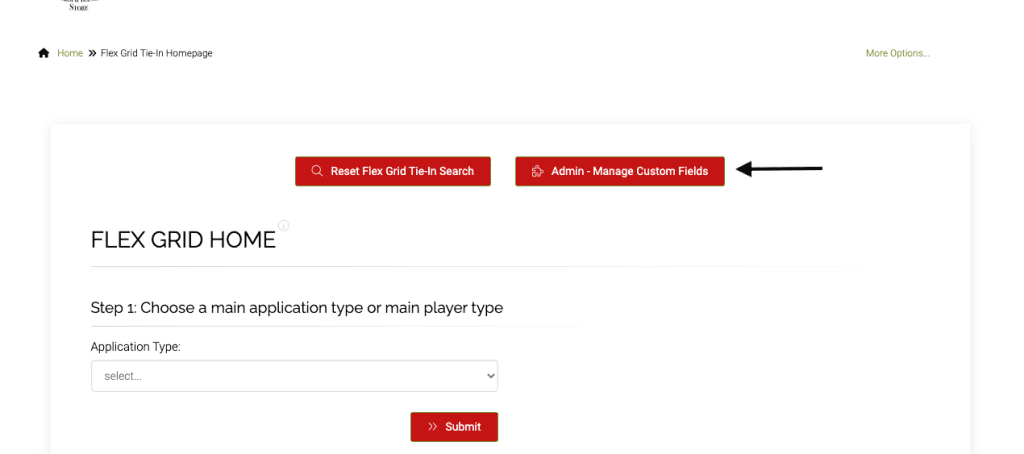
2.)Click on Admin Manage Custom Fields.
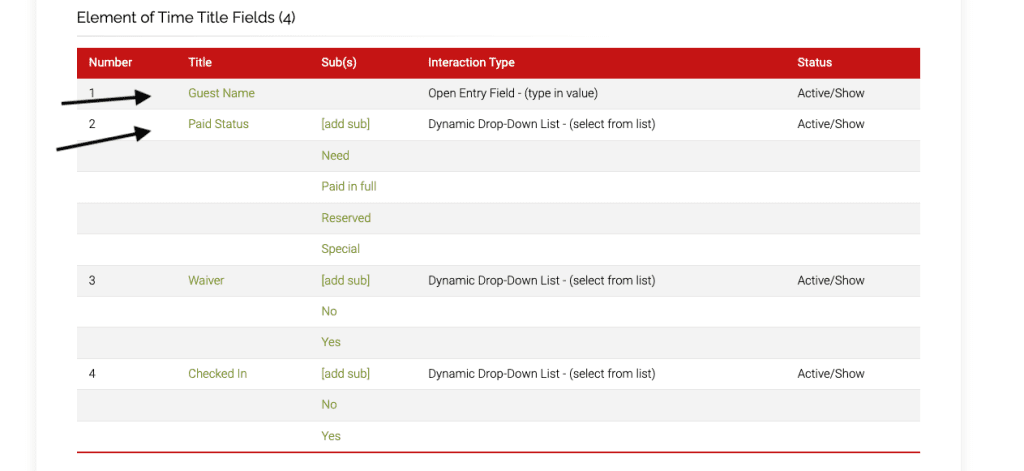
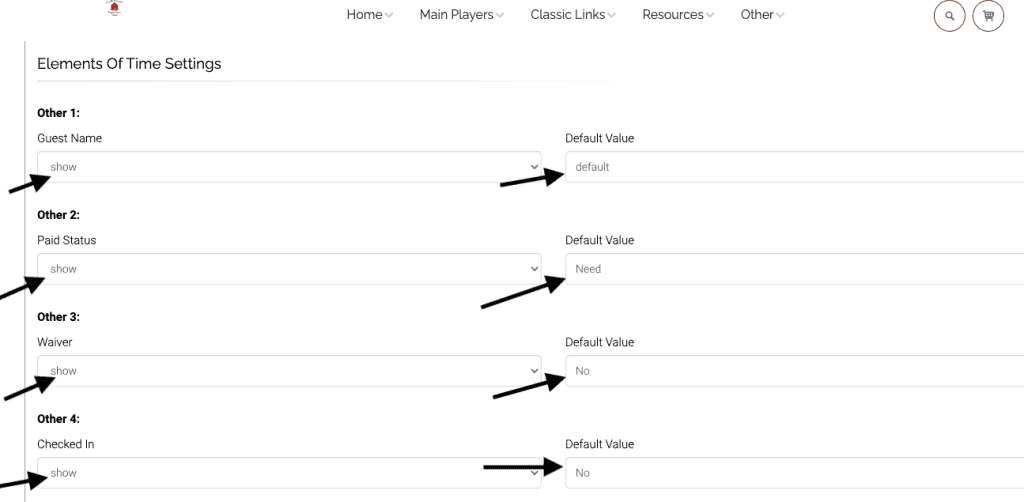
3.)Scroll down to Elements of Time Title Fields. By default, only one file is activated per main player group. Please follow this example until we automate things. The four different data points are: Guest Name, Paid Status, Waiver, and Checked In. The Guest Name field was left open and then all others were given a drop-down list so that specific data points had to be selected.
Here is what the add/edit form looks like for the Guest Name.
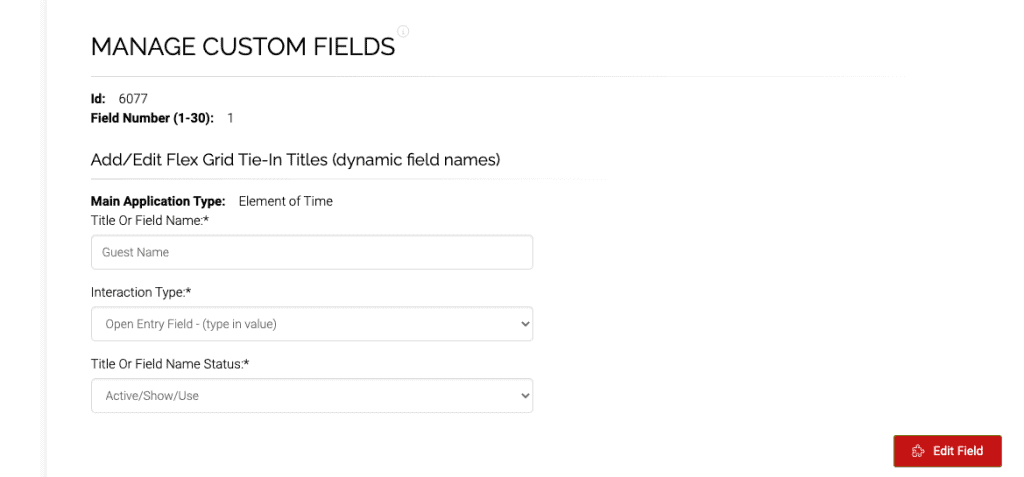
Currently only these four Element of Time flex grid tie-ins are available for scheduling. As previously mentioned we will be adding settings that will allow for more data points that will be automated.
4.)The last step for the flex grid tie-ins is what is called the limited settings. After you setup the correct fields (as listed above), you will want to click on the more options link, up in the header. Then click on the link called Flex Grid Additional Settings.
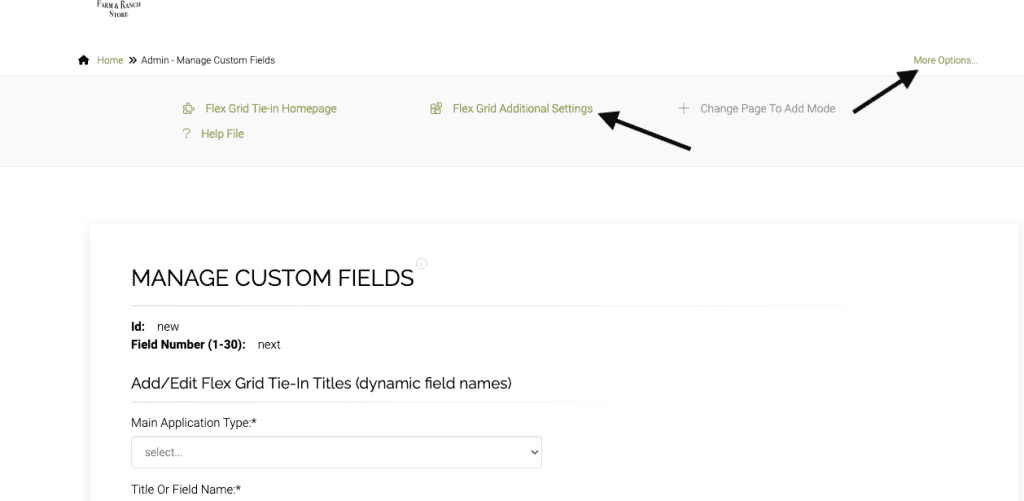
Once on that page, you will want to navigate over to the tab that shows additional settings for elements of time. The tab says “Time”.
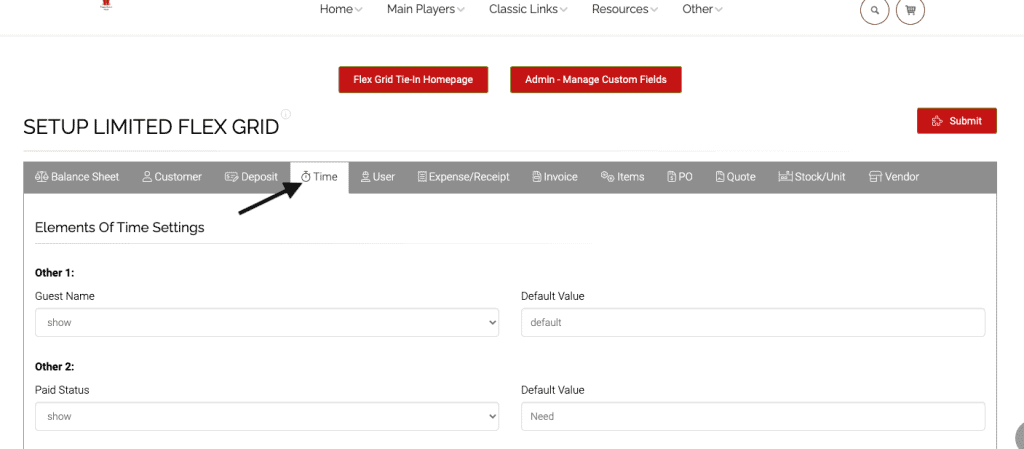
From there, you will need to update the first four custom fields to match this example. Click Submit.
As always, please feel free to reach out to technical support at 720-740-3076, or email support@adilas.biz if you have any questions, concerns, or suggestions.