
To ensure that all line items you wish to allocate to the balance sheet receive the proper balance sheet item number, it is helpful to set these up as defaults in your chart of accounts. In the example below we will be demonstrating how to set these up for your deposit types. The same steps will be taken when setting up expense types.
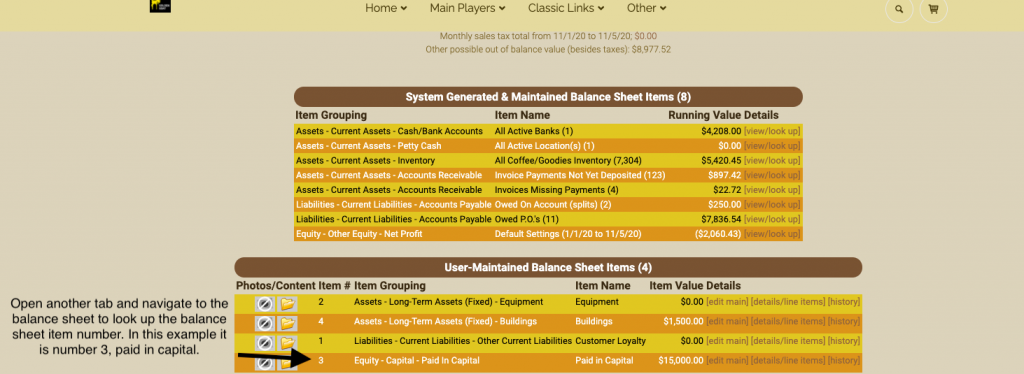
If you don’t already know which balance sheet item number you are assigning to the deposit type, go to the balance sheet. Here you will see that the balance sheet item is number 3- paid in capital. This balance sheet account was created by the user. If you need help creating a balance sheet item, please refer to “How to Create a New User Maintained Balance Sheet Item.”
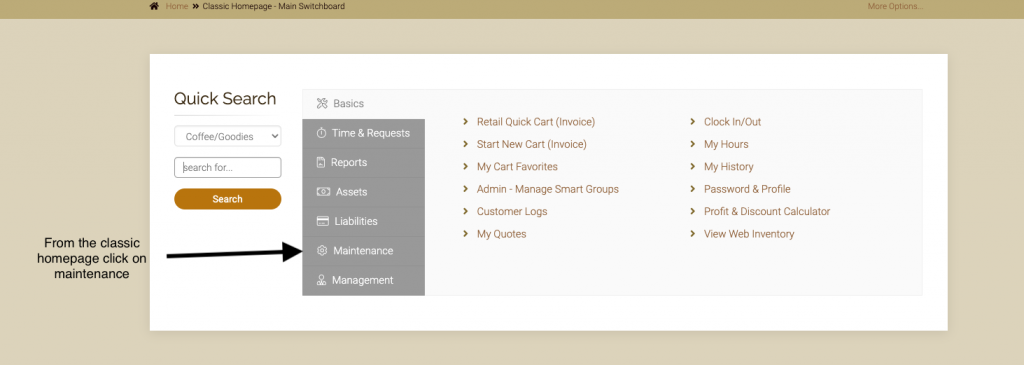
Go to the classic homepage and navigate to maintenance.
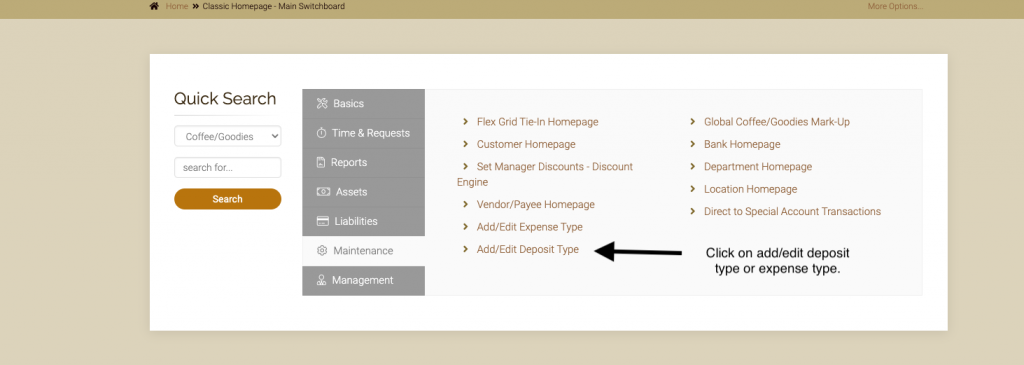
Click on Add/edit expense type or deposit type. In this example we will be using the deposit type chart of accounts.
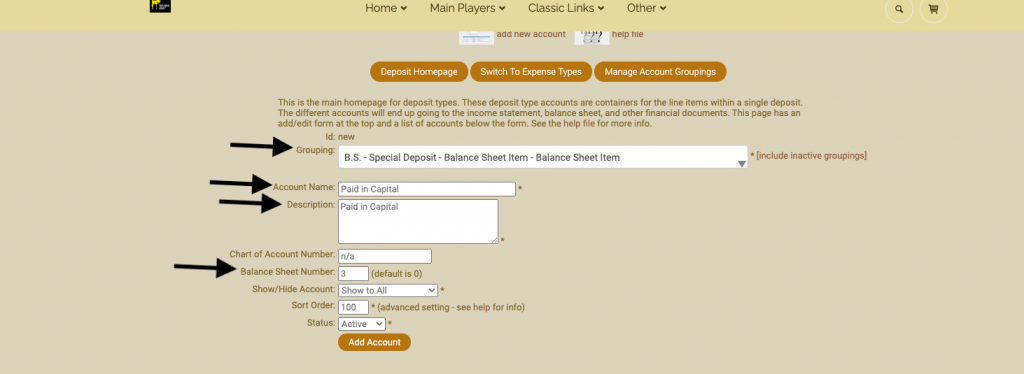
You will want to create a new chart of account for each item on your balance sheet, so that each is assigned properly. Choose balance sheet as the grouping and then name your chart of account. Again, for this example we are using ‘paid in capital.’ Fill in all required fields and make sure to fill in the bsi number 3. You may choose to assign a number to this chart of account item for sorting purposes. Click on add account.
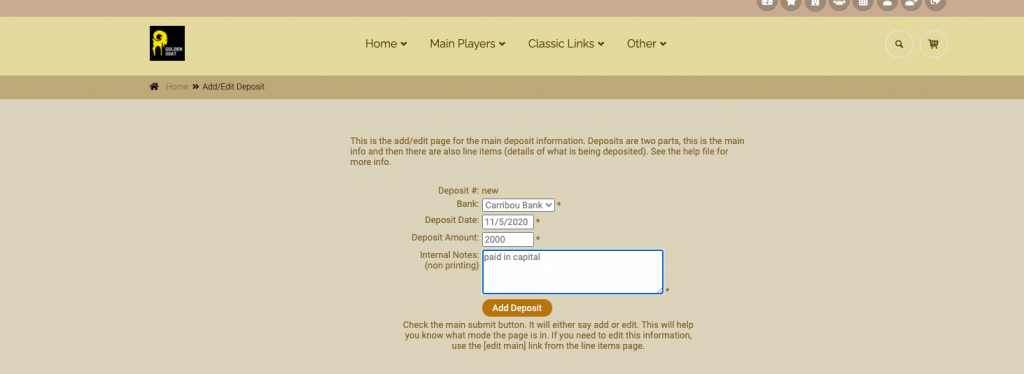
Create a deposit as usual.
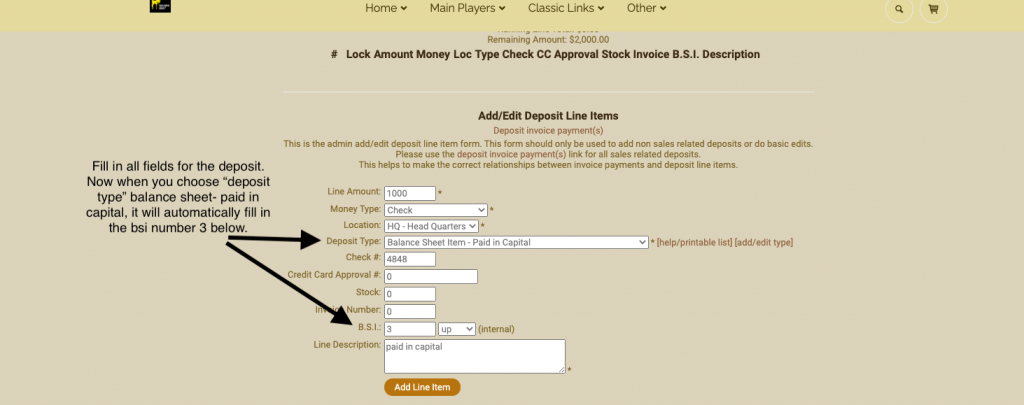
When deposit type “Balance sheet Paid in Capital” is chosen, the B.S.I. number is automatically populated with the number 3.
As always, please feel free to reach out to your consultant, technical support at 719-966-7102, or email support@adilas.biz if you have any questions, concerns, or suggestions.