We have simplified the POS label printing process. Once you start a new cart, click on the settings gear to the left of the “Clear Cart” button near the top of the page.
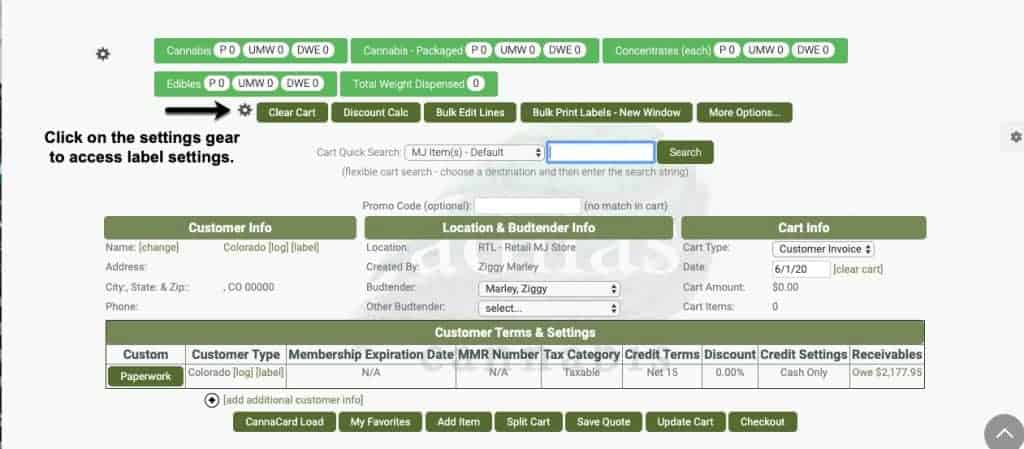
There are three easy settings. Once you set them, they stay set until you change them.
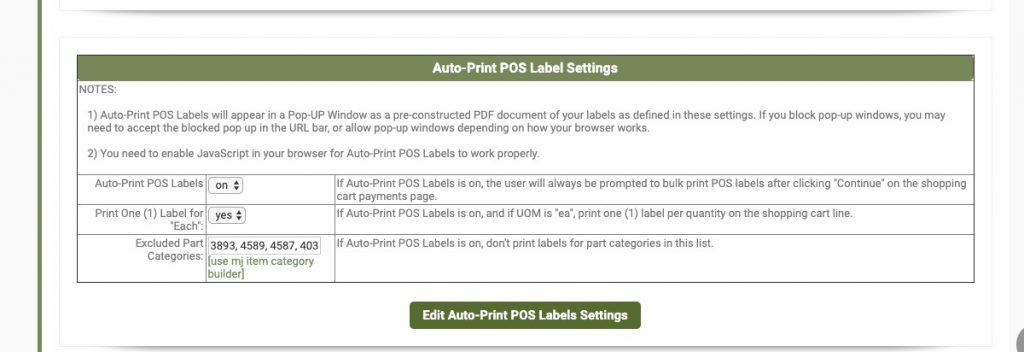
1)Make sure to set auto print to on.
2) If you want one label per item to print for items set as “each” select yes. Ex: if you add two of one item to the cart, it will print two labels. If you select no, it will print one label, even if you add quantity of two.
3) Choose any categories that you want to exclude from printing POS labels. Edit Auto-Print POS Labels Settings.
**One very important reminder: make sure you enable pop-ups on your browser, as well as JavaScript. All browsers are different, but it should either prompt you to allow this, or you may find it in your browser settings.
Now, add your items to your cart.
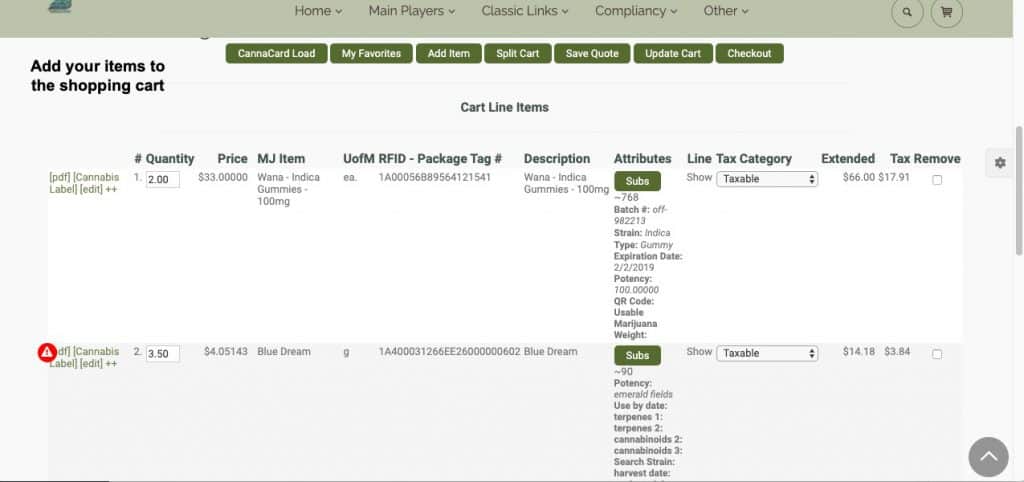
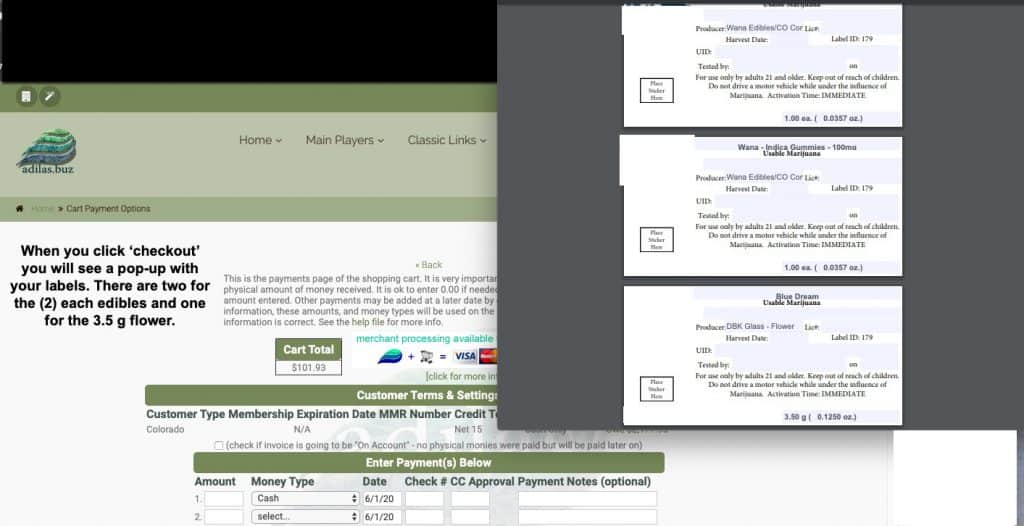
Once all of your items are added, click checkout. You will see a pop-up with all your labels. As you can see, there were two labels printed for the ‘each’ items, and only one label printed for the ‘gram’ item, even though there were 3.5 grams added to the cart.
Click print from the icon at the top of the pop-up page. Or you can press Command-P on Mac, or CTRL-P on Windows from the pop-up window to print the labels.
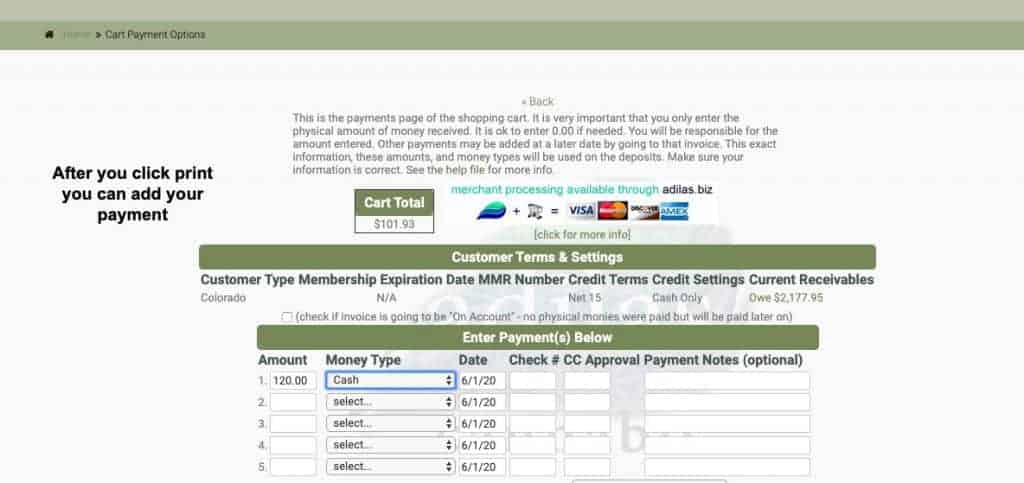
Once you have printed your labels, you can add your payment and finish the checkout process.
As always, please feel free to reach out to your consultant, Technical Support at 719-966-7102, or email support@adilas.biz if you have any questions, concerns, or suggestions.