
It’s that time of year when you’re trying to catch up on your end of year financials. If you take just a few more minutes now, you will save yourself time throughout the year and at the end of year NEXT year when adding expense receipts for your business.
First, go to the Vendor Homepage. You can reach this page by hovering over the word “Home” at the top of any page in adilas. You can also reach the Vendor Homepage from the Classic Homepage, and then under System Maintenance.

Choose Vendor as your “Vendor Type” and type in up to four characters of the Vendor you are searching for.
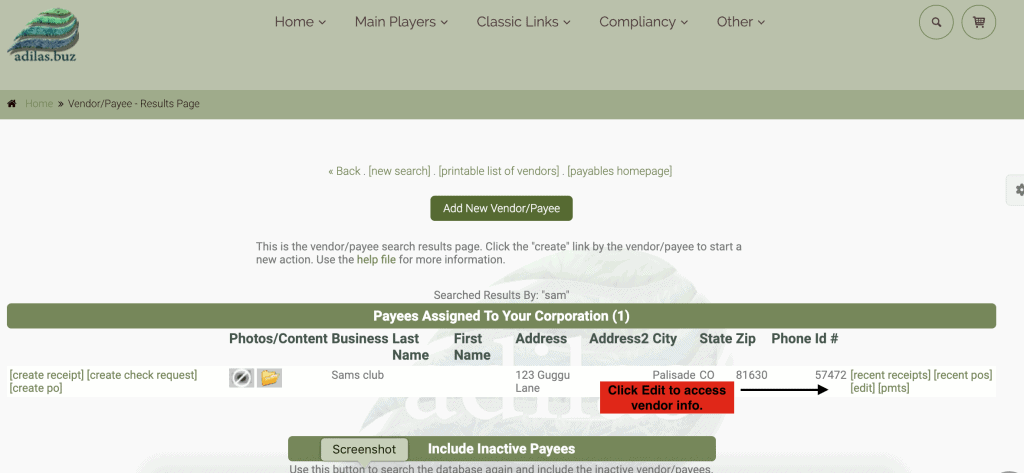
Click edit on the right hand side of the vendor to access the Vendor information.
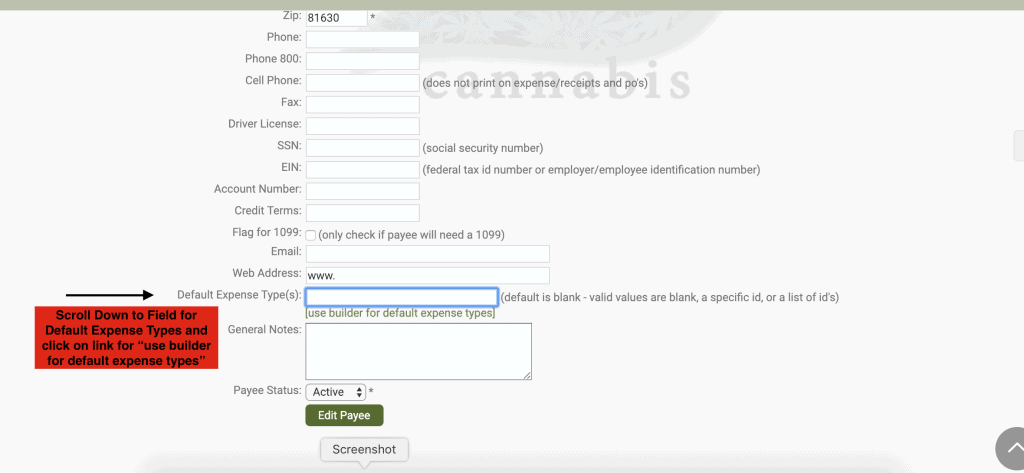
Scroll down to the bottom of the form and click on the link “Use Builder for Default Expense Types.”
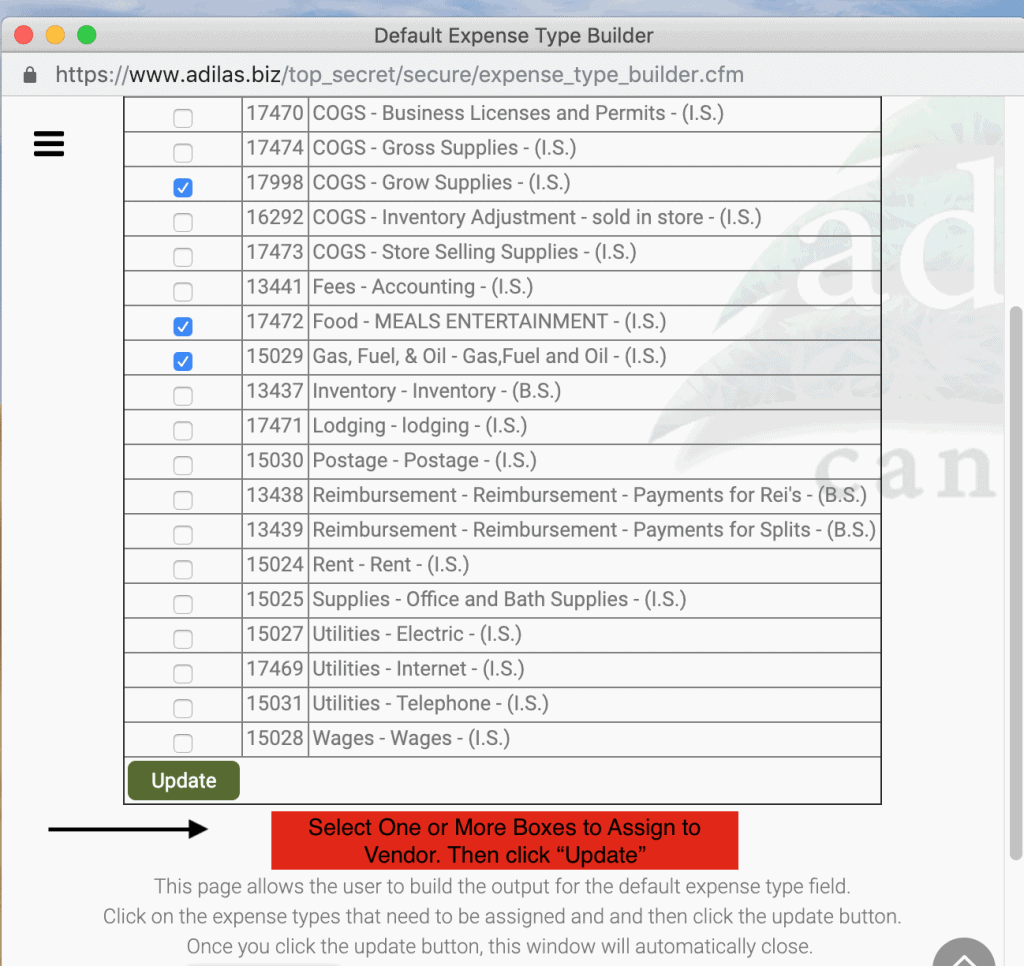
This will bring up a new screen and you can choose one expense type or multiple expense types depending on the Vendor.
**Keep in mind… once you assign these types, only this select list will be available when assigning an expense type to a line item on an expense receipt. For example, if a particular Vendor is assigned “Inventory,” you won’t be able to assign “Freight” to that Vendor unless you go back in and edit the list to include “Freight.”
Here is a quick video on how to assign the expense types to a Vendor.
As always, please feel free to reach out to your consultant, Technical Support at 719-966-7102, or email support@adilas.biz if you have any questions, concerns, or suggestions.