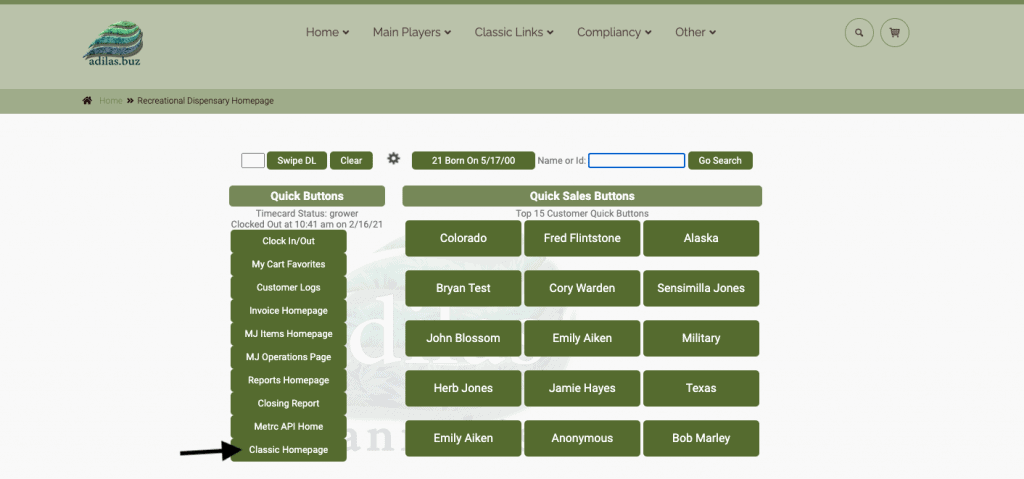
Navigate to Classic Homepage.
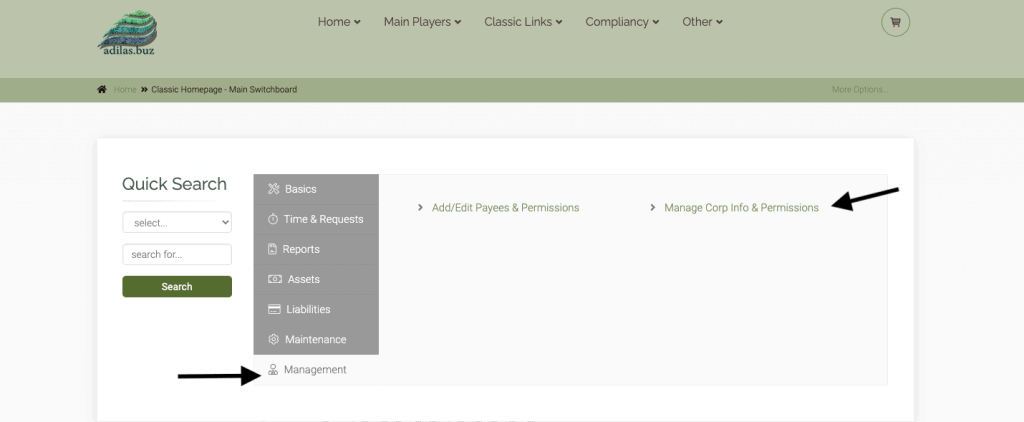
Click on Management link and then Manage Corp Info and Permissions.
Click on the link for Corp-wide Settings.

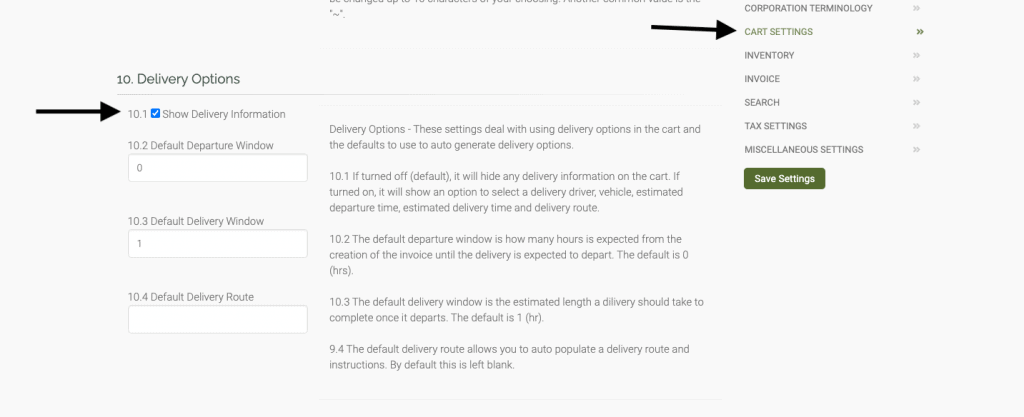
On the right side of the page, choose Cart Settings and scroll down to 10. Delivery Options. Check the box for 10.1 Show Delivery Information. You may also set 10.2, 10.3 and 10.4.
10.2 is the estimated amount of time between when the invoice is created and when the delivery will depart the facility. The default is 0, which makes the delivery departure time estimated to be the same as the invoice creation time.
10.3 is the estimated amount of time from departure to arrival. The default is set to 1, for one hour.
10.4 is a default route- this can be left blank if the route is always different.
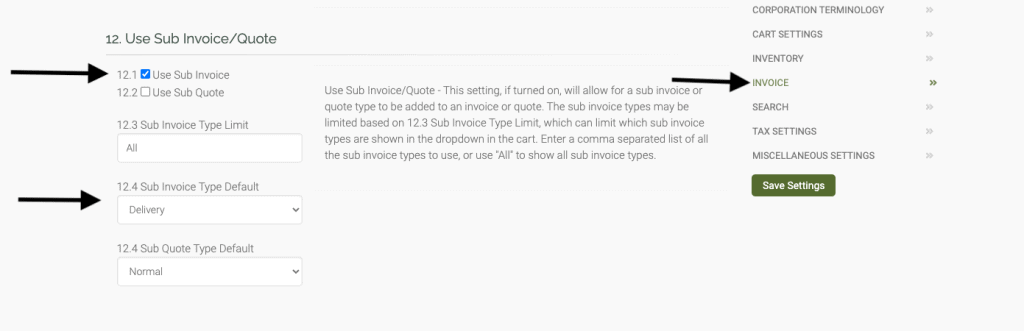
Click on Invoice on the right side of the page and scroll down to 12. Use Sub Invoice/Quote.
Checking box 12.1 will enable user to access the delivery settings in the shopping cart.
12.2 is for Sub Quote, which can’t be used for delivery. Functionality for this setting will be developed at a later date.
12.3 allows user to determine which sub types can be set in the shopping cart. For delivery, field must be set to “All” or “Delivery.” The other sub types are for future development.
12.4 allows for a sub invoice default to be chosen. If “Delivery” is selected it will pop up every time. If user doesn’t want all shopping carts to default to delivery, then it is recommended to keep default set to normal, and then flip the sub type to delivery as needed.
12.4 dealing with Sub Quote Type is for future development.
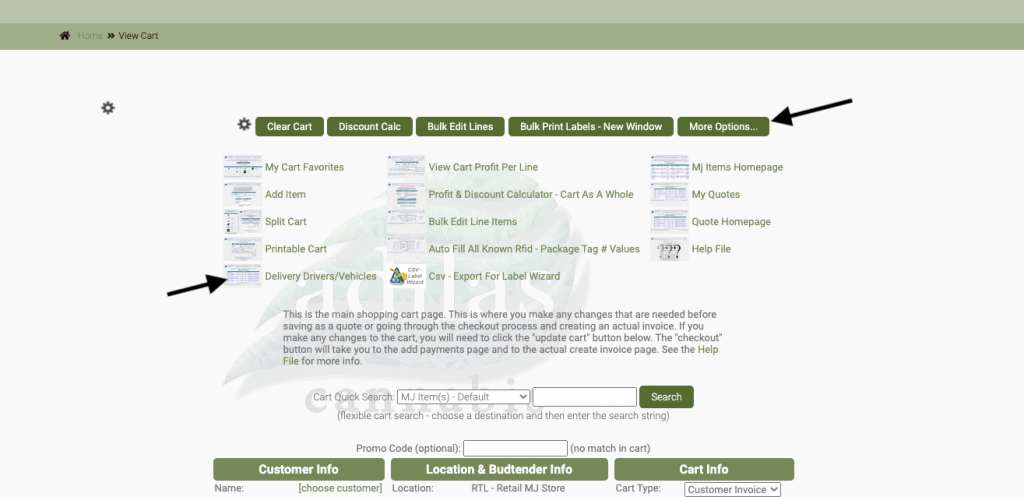
Start a new shopping cart. Click More Options, and then Delivery Drivers/Vehicles link.
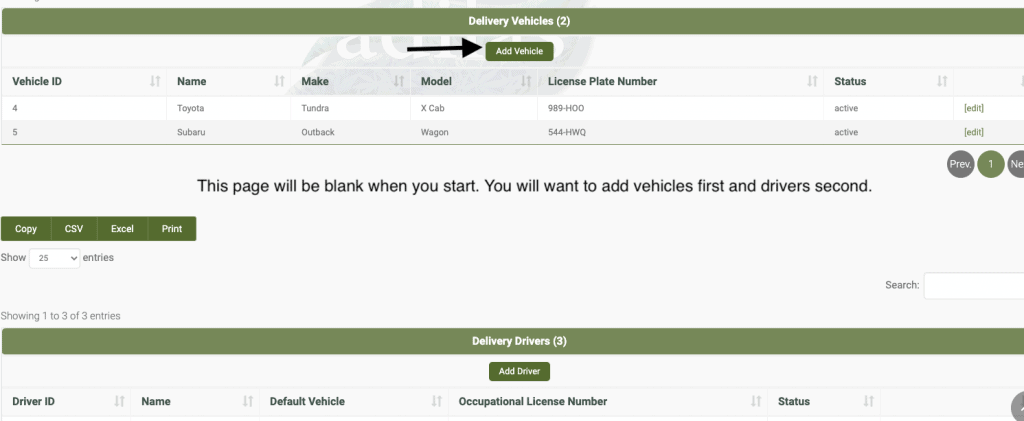
Add a vehicle first, and then drivers after.
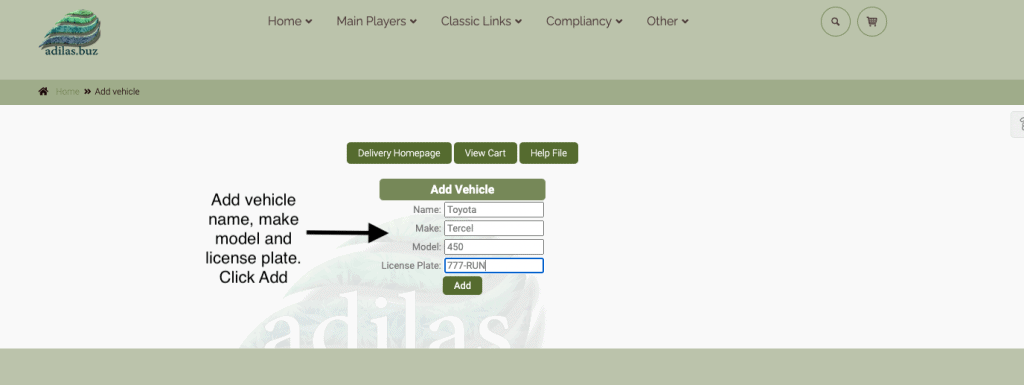
Populate all fields: vehicle name, make model and license plate number.
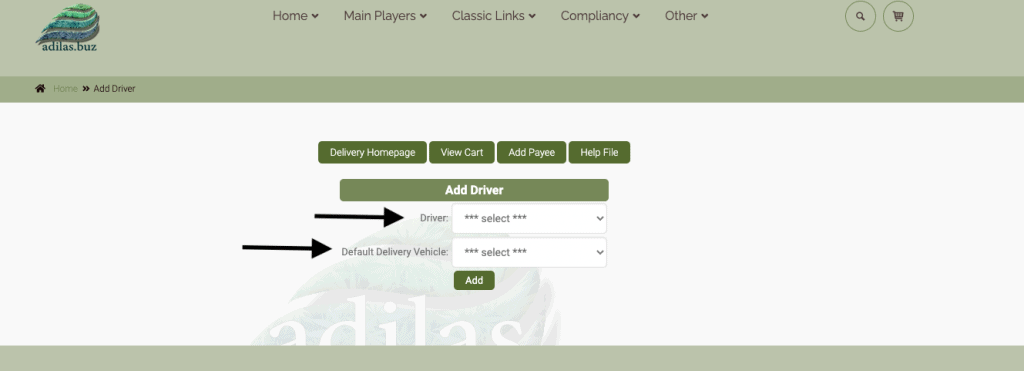
Now add the drivers.
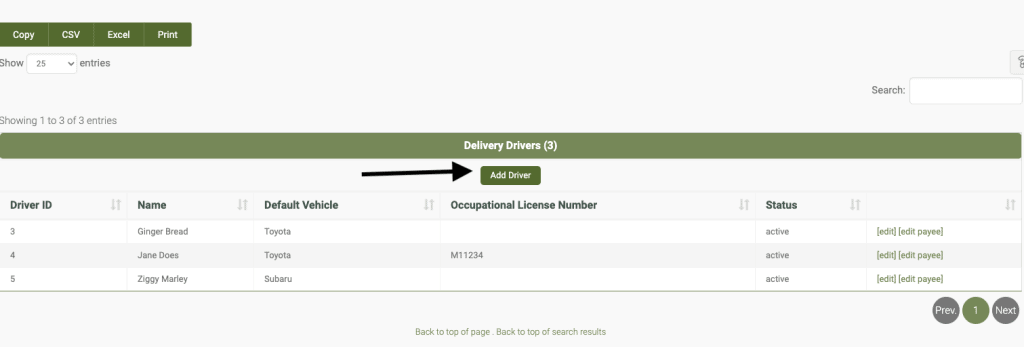
The driver list is populated from the user list. The occupation license number will pull from the ein field for the user. The vehicle list is populated from the list created above, which is why you will want to create the vehicles first.
Below you can see the driver was selected from the user list, and the vehicle was selected from the vehicle list.
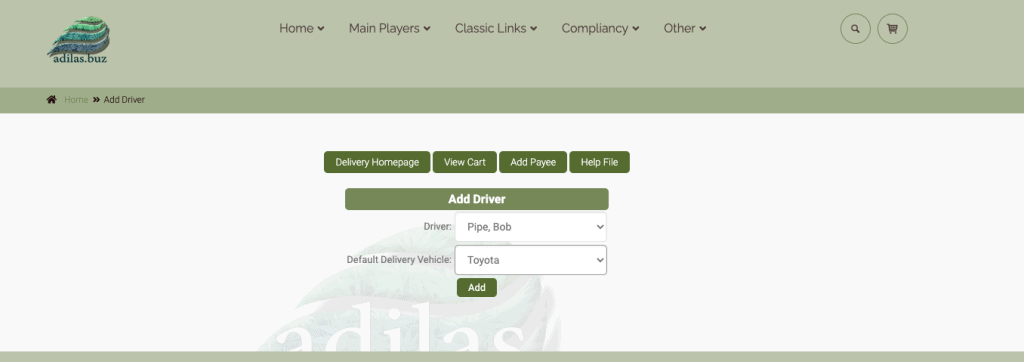
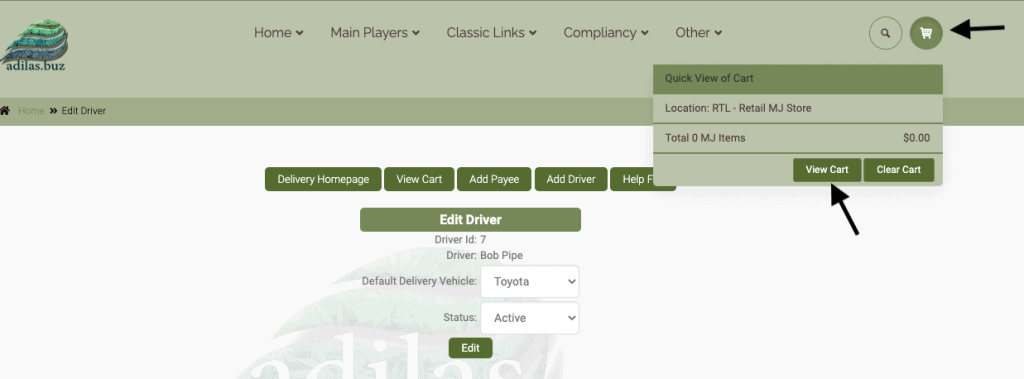
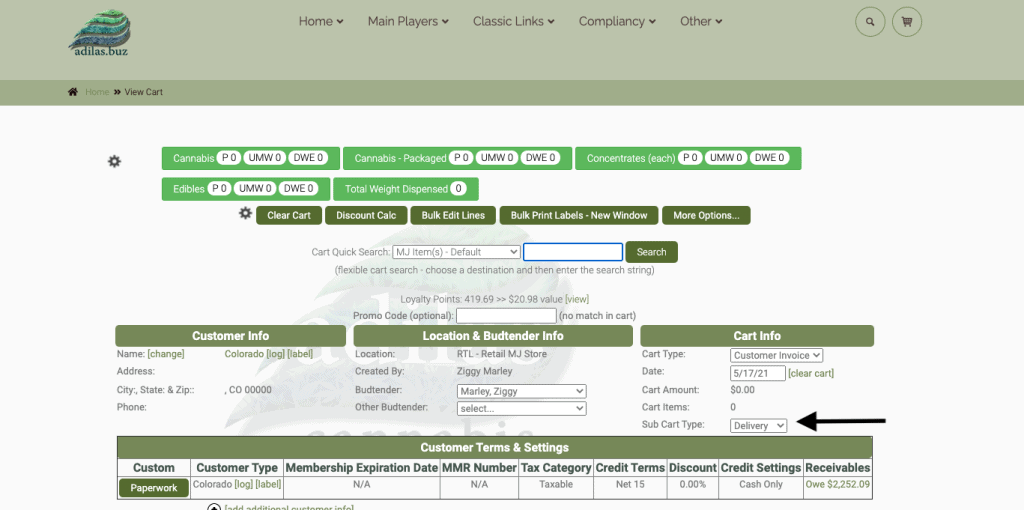
Now return to the shopping cart.
The sub cart type will show as delivery if that was set as the default. If the user is doing all delivery sales, then this would be a recommended setting. Otherwise, normal would be recommended.
When delivery is chosen from the drop down list, the delivery info box will pop up. Choose the driver, and that will auto-populate the vehicle that has been assigned to the driver. The estimated departure and arrival are pulled from the corp-wide settings. Enter the route in the blank space below. There is room for unlimited characters.
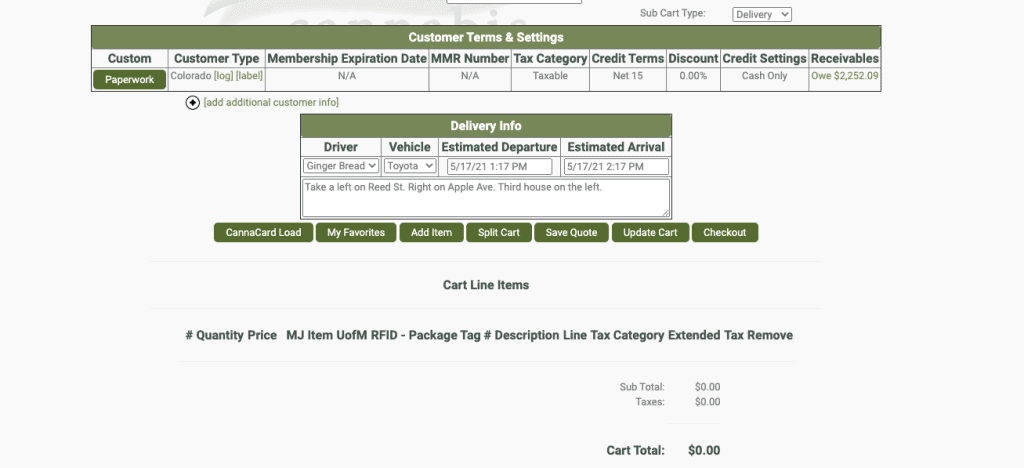
Checkout as usual, but with payment on account. The payment section will be satisfied when the delivery is made and the customer tenders their payment.
If the user is connected to METRC, the transaction will go through as a delivery.
As always, please feel free to reach out to your consultant, technical support at 720-740-3076, or email support@adilas.biz if you have any questions, concerns, or suggestions.