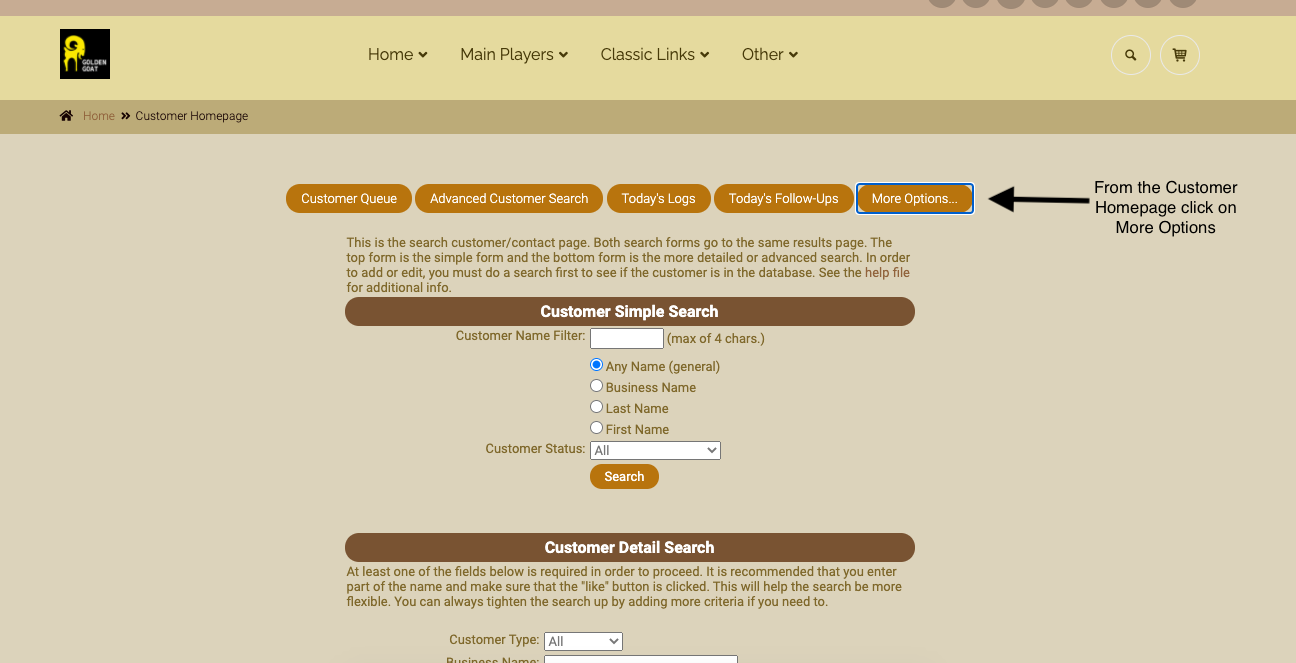
To create flex attributes for customers, navigate to the customer homepage. Click ‘more options’ link.
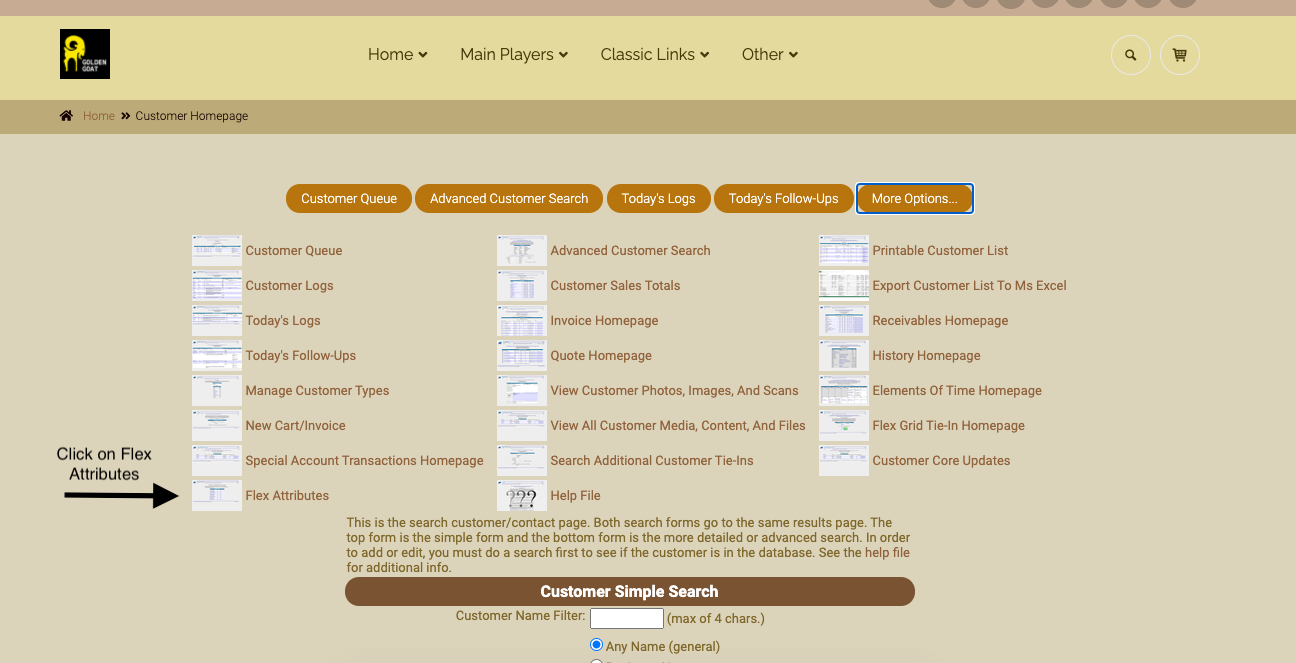
Click on the ‘Flex Attributes’ link.
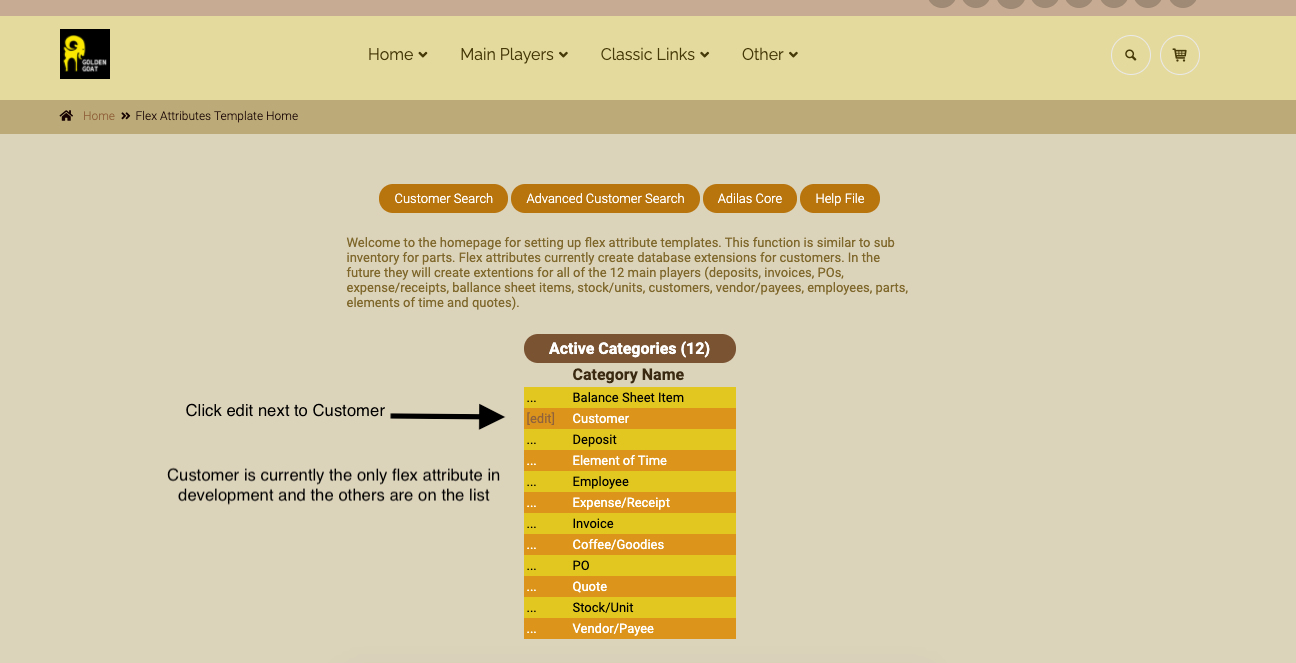
Currently ‘Customer’ is the only category with flex attribute functionality built out. Click edit link to the left of Customer.
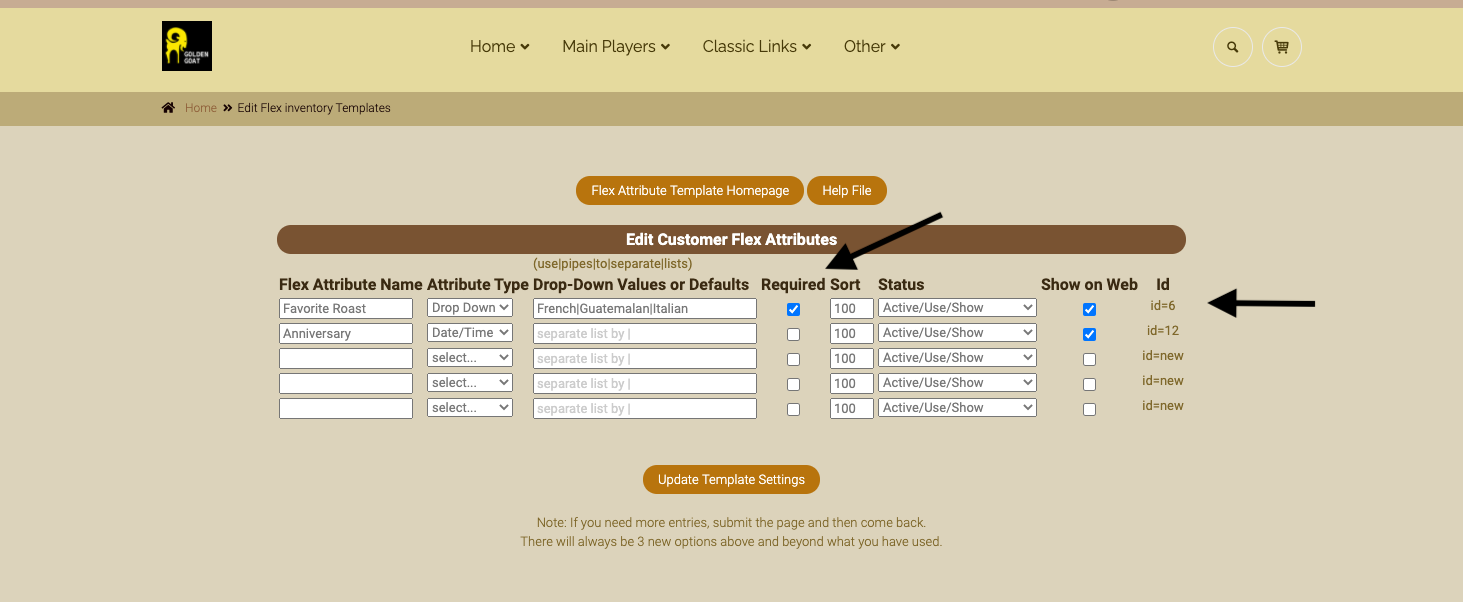
Fill in the attribute name and refrain from using symbols. For example, instead of ‘#’ spell out ‘number’. Choose your attribute type. If drop down is chosen, you will need to create a list. Each word in the list is separated by a pipe (|), which is the straight up and down line that is often located above the backward slash (\). You can decide if the attribute is required by checking the box. If required, when a new customer is created or when an existing customer is edited, the field will be required prior to submitting the form. You may choose the sort order and also choose to show on the web. If you are using Adilas e-commerce, your customers will be able to add and edit their profile online. They too will be required to populate any attributes that are required.
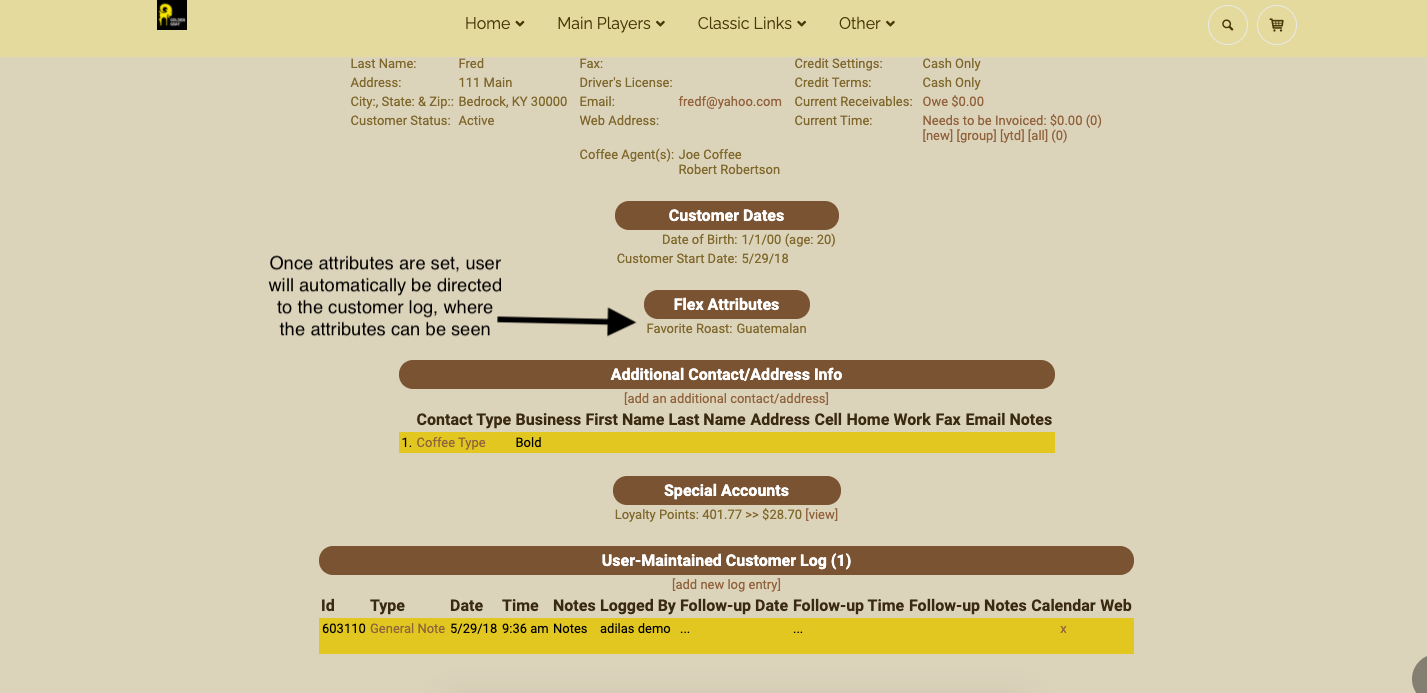
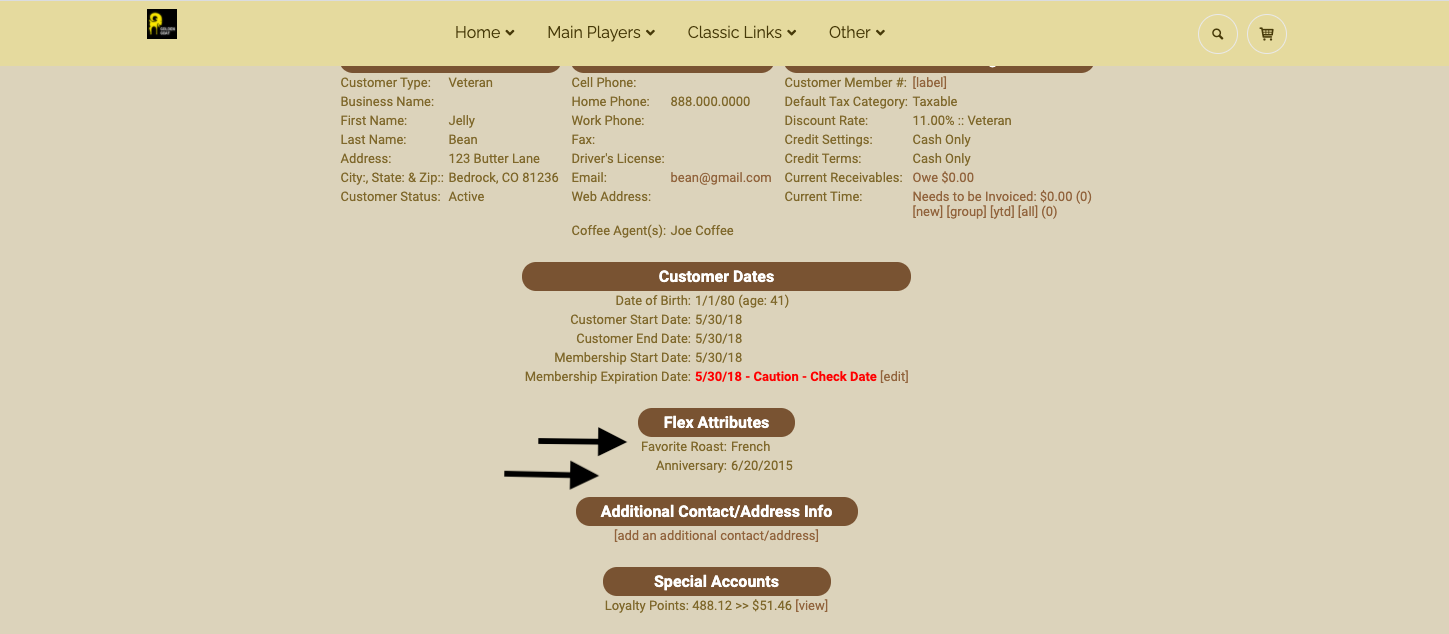
Once the template is set up, the flex attributes will be visible in the customer log.
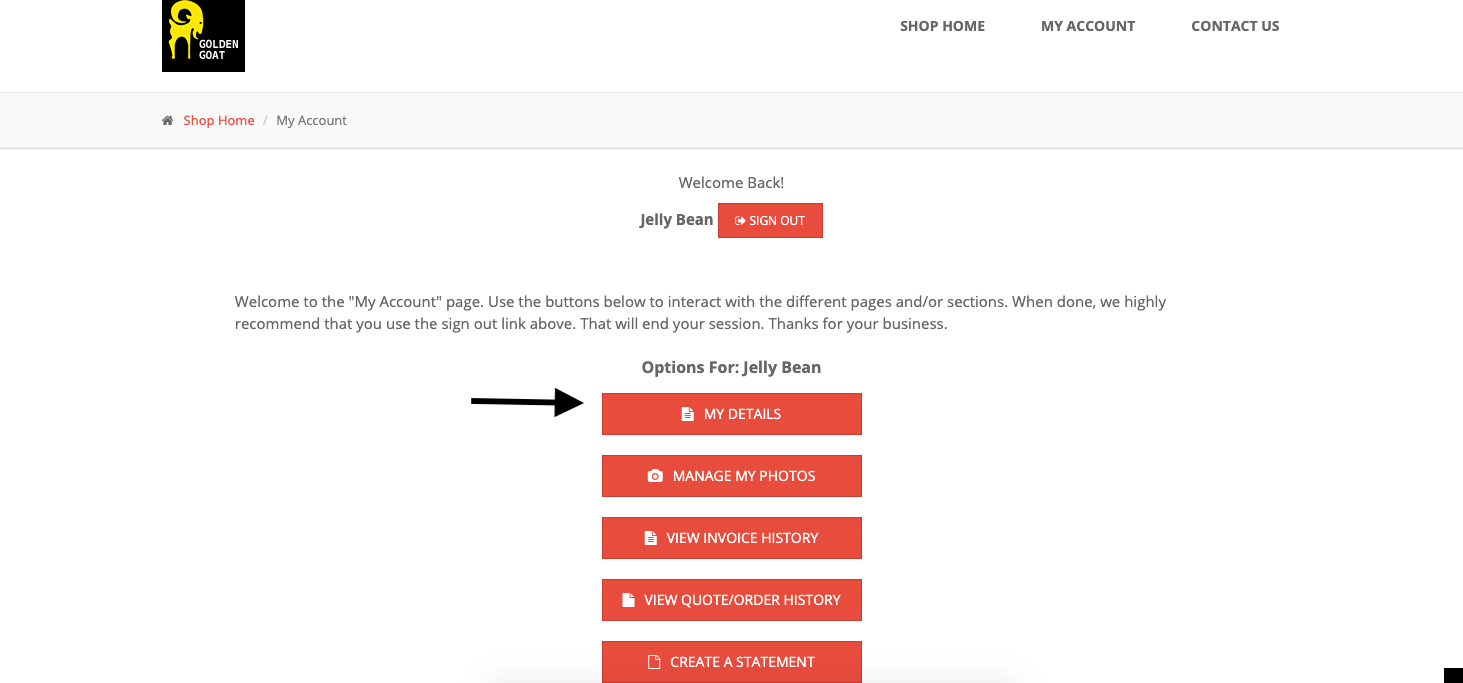
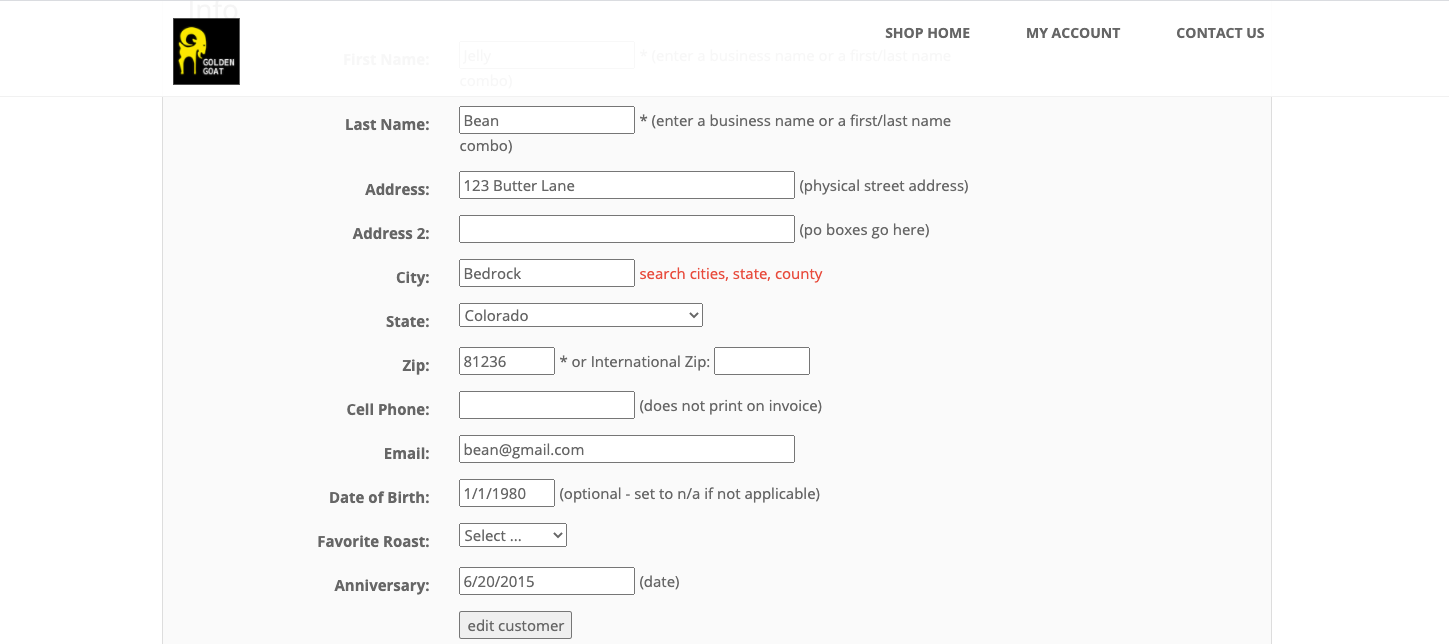
If you are using Adilas e-commerce, the flex attributes will also be available to customers once they log in. They can click on ‘My Details’.
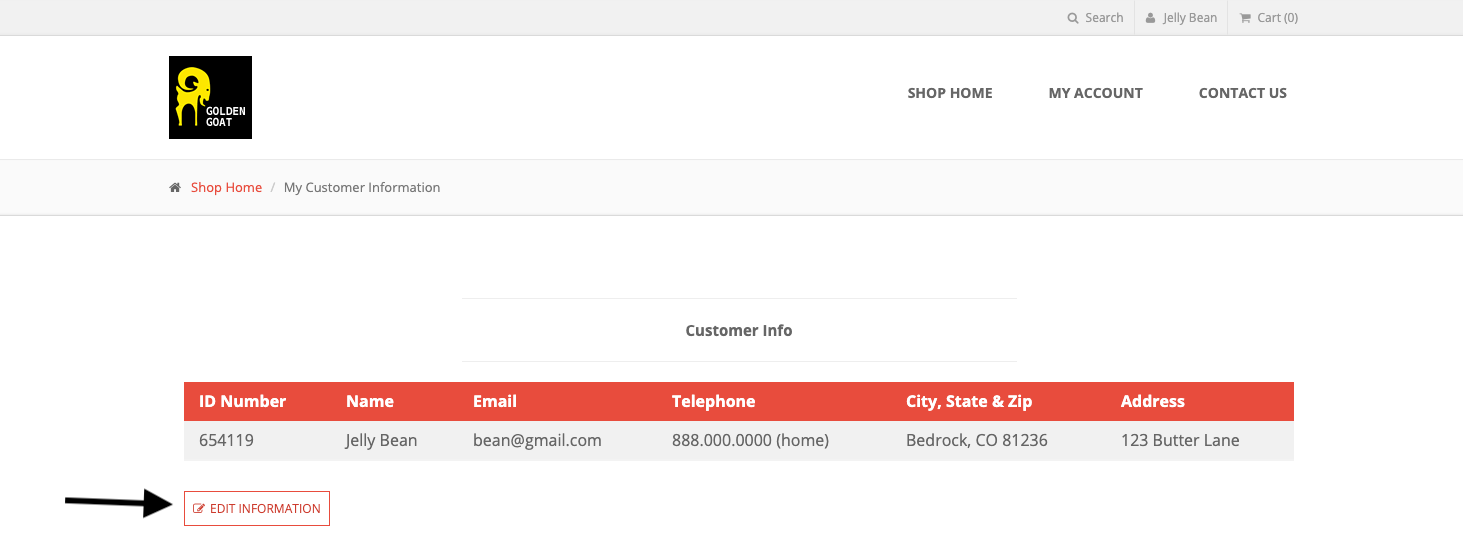
Then click on ‘edit information’.
Below you can see that one of the attributes has not been filled in, and it was set to required.
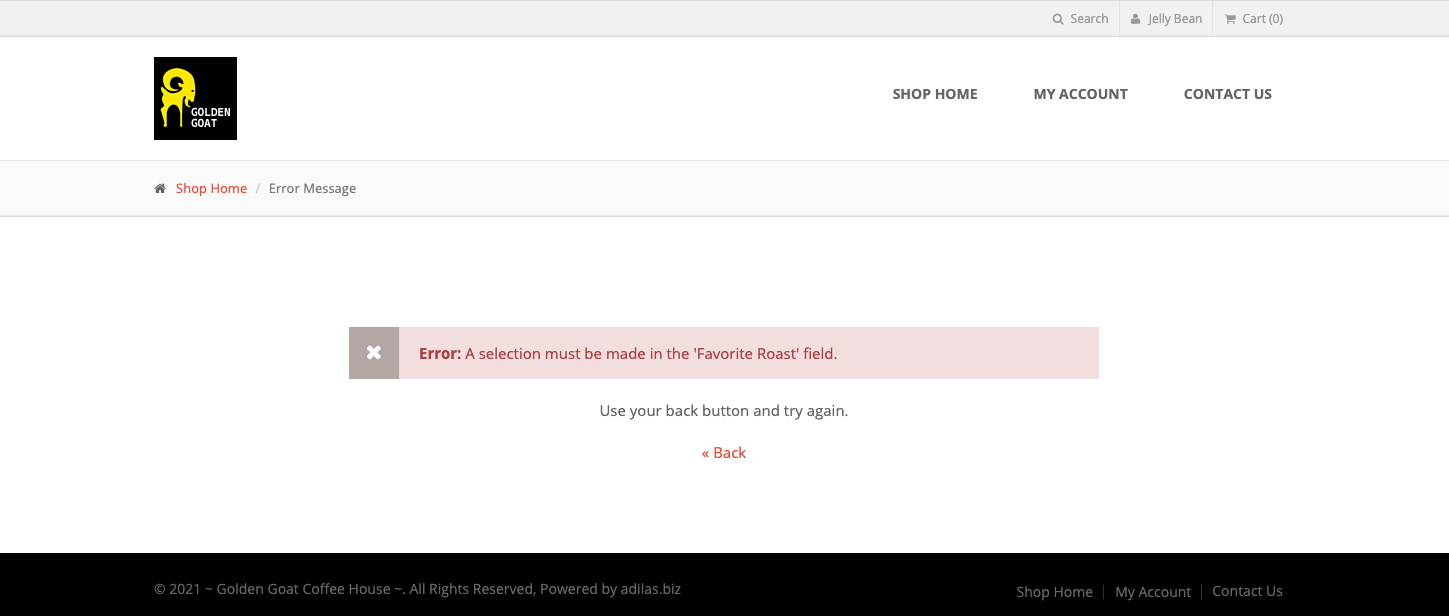
This is the error that the customer will receive if they don’t enter a required field.
Once completed, all data will also populate in the customer profile in Adilas.
As always, please feel free to reach out to your consultant, technical support at 719-966-7102, or email support@adilas.biz if you have any questions, concerns, or suggestions.