The payee permission homepage has been redesigned to be more mobile friendly, improved look and feel, and a new search filtering option to find payees quicker.
How to Get to It: Classic Homepage > Management (tab) > Add/Edit Payees & Permissions (link)
Written Instructions
In this help file we will be going over:
- How to Add a Payee Image
- Payee Search Filter
- Other Page Features
- Menu Options
- New More Options Location
How to Add a Payee Image
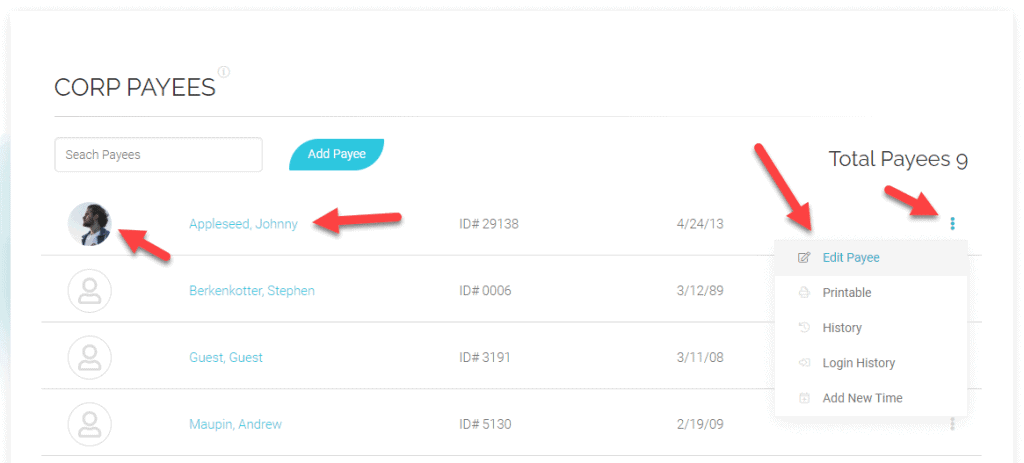
From the “Add/Edit Payees & Permissions” page, select the desired payee using one of the three edit payee links (picture/avatar, payee name, and edit payee menu option).
You can add a payee image by adding a “Photo/Scan.” Located at the top of the page.
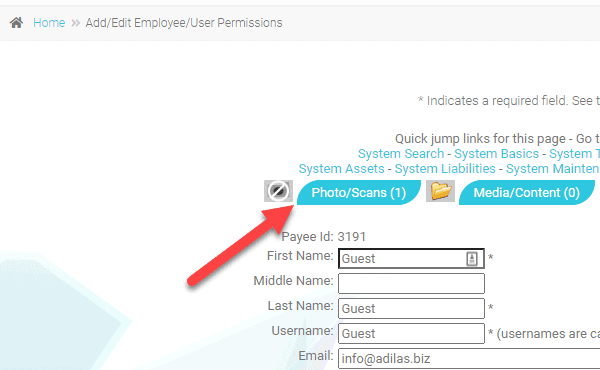
Now just upload the file, add comments if desired, then add photo.
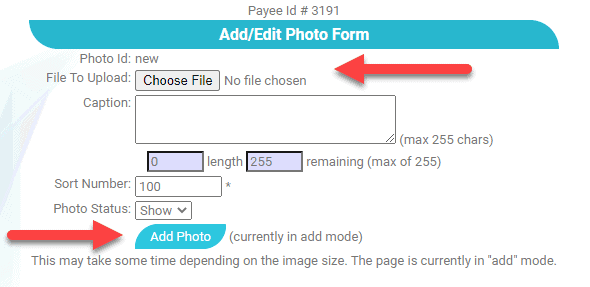
The picture that will show up as the payee image will be the picture that has the number one next to it (the first picture uploaded).
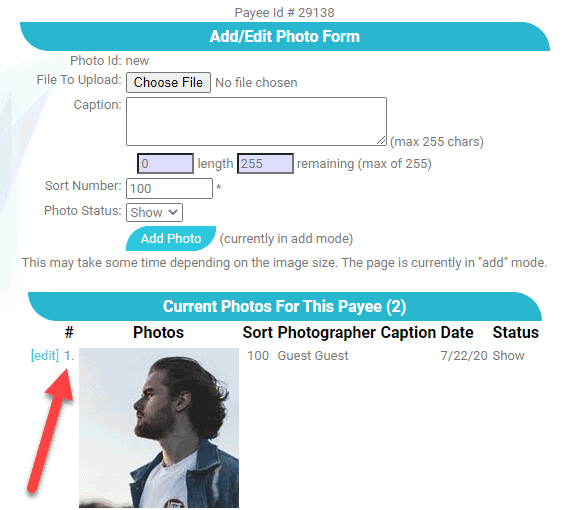
*** The image you want to show on the profile must be the first image you load up. You can delete all images and then re-upload them to get them in the correct order. ***
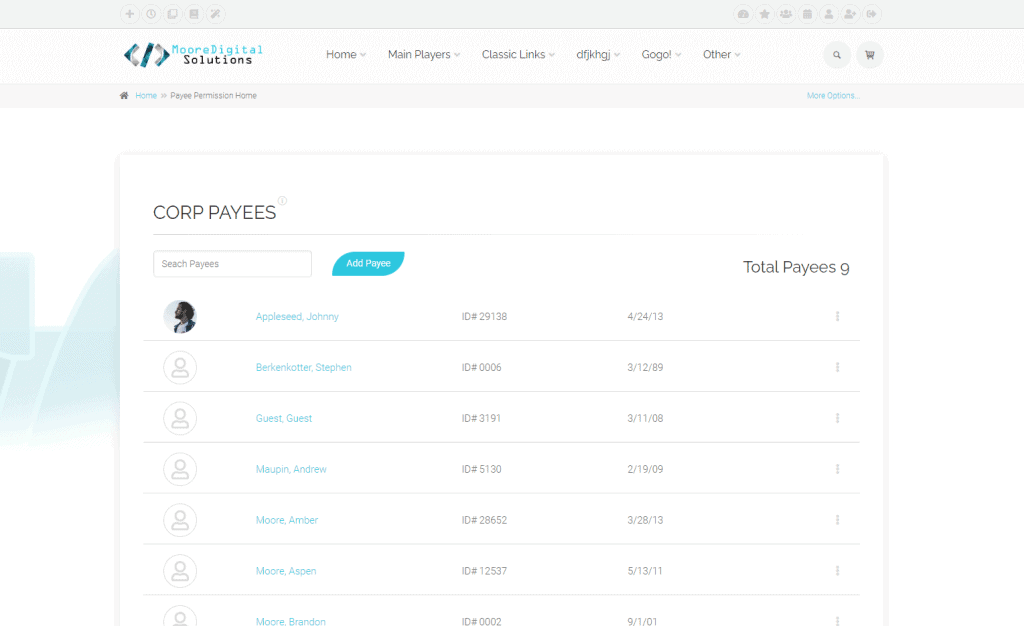
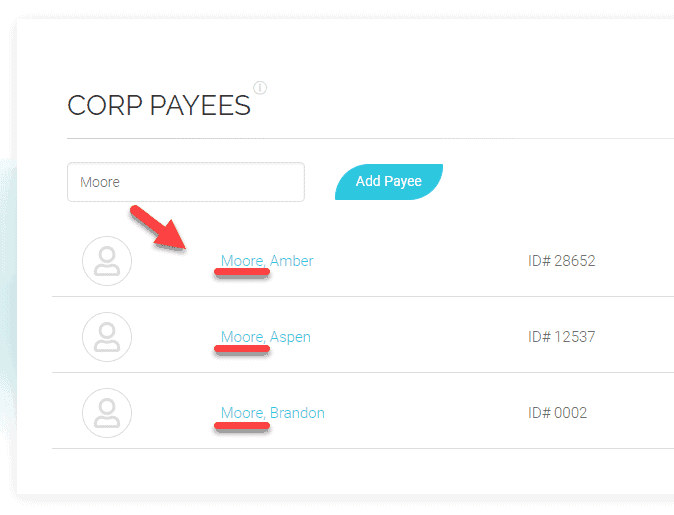
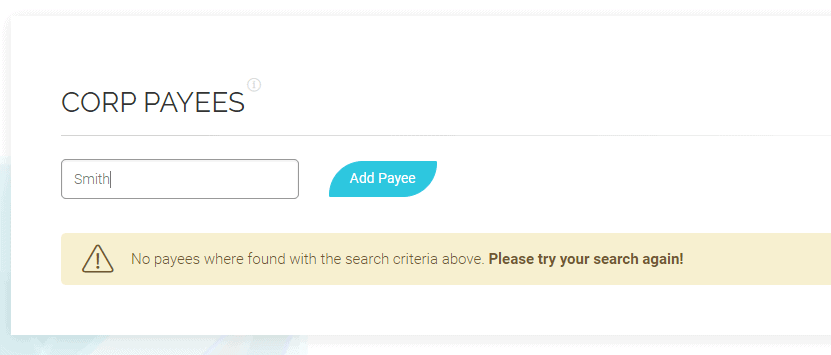
Payee Search Filter
The payee search filter can filter off the payees name.
You can also filter off the payee ID.
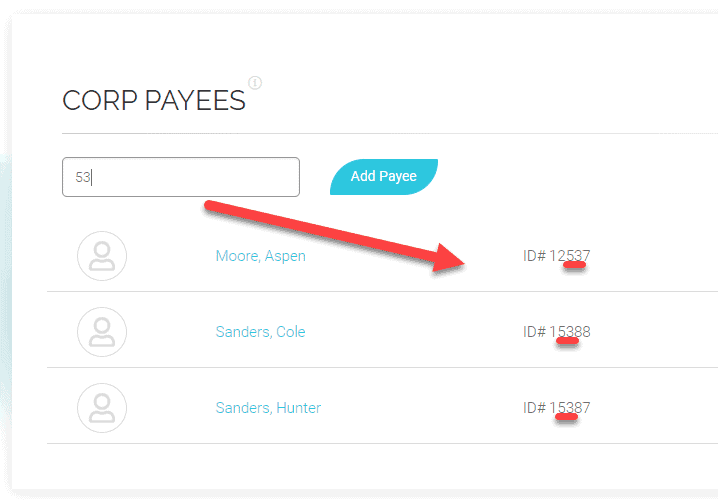
You will also be notified if your search criteria brings back no matches.
Other Page Features
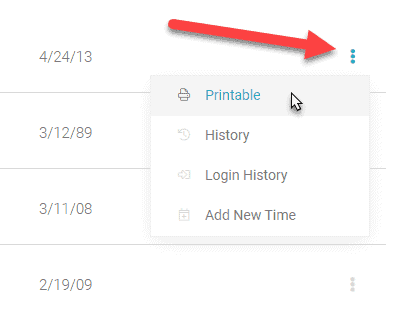
Menu Options
All of your previous payee options are now provided in a drop down menu.
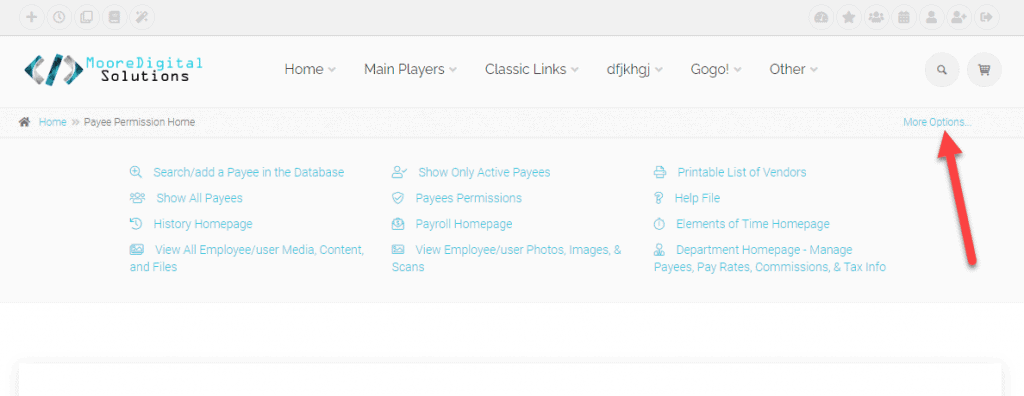
New More Options Location
On most of our newer pages the more options has been relocated to the top breadcrumb bar.