Please read How To Use The New Special Account for Vendor Credit to Create a Manual Credit Entry and New Special Account Type… Vendor Credit in order to get these settings turned on properly and learn how to create the vendor credit.
Once you have created vendor credits you can use them as payments directly on the expense receipt, as demonstrated in the previous update. You may also use them from the payables page.
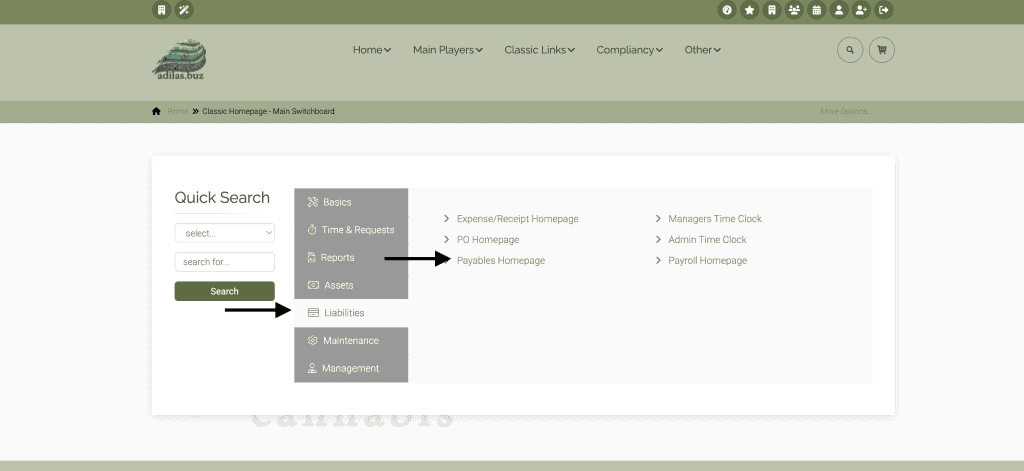
From the classic homepage, click on liabilities, then payables.
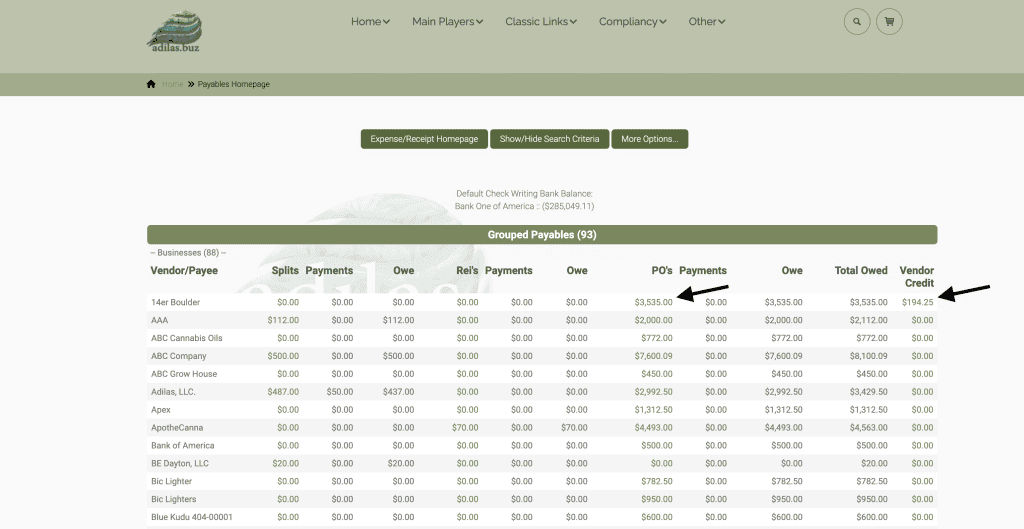
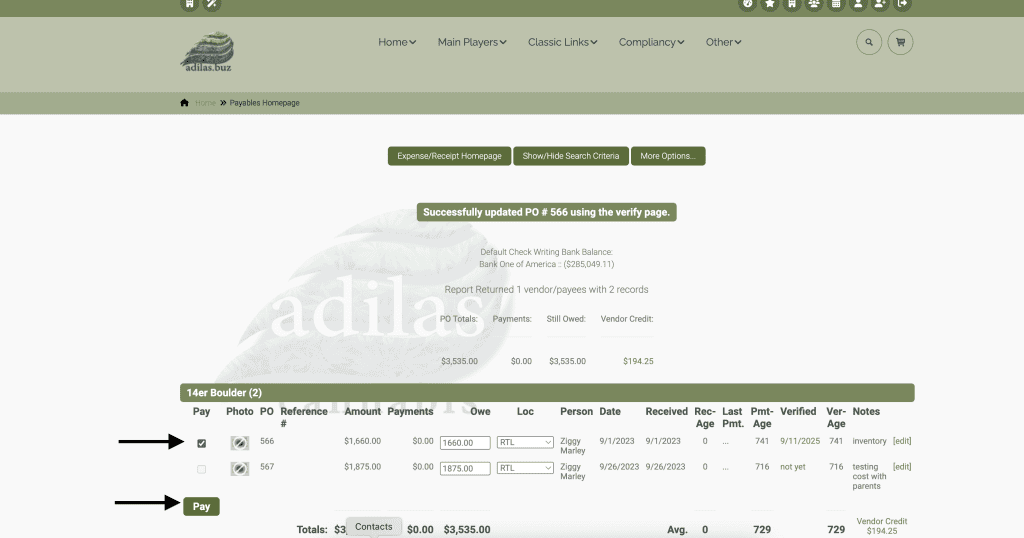
Here you can see any vendor credits your vendor may have. Click on the amount you owe.
Click on the box (boxes) next to the PO’s you wish to pay. Click on Pay.
**If the boxes are greyed out, you must first verify them.
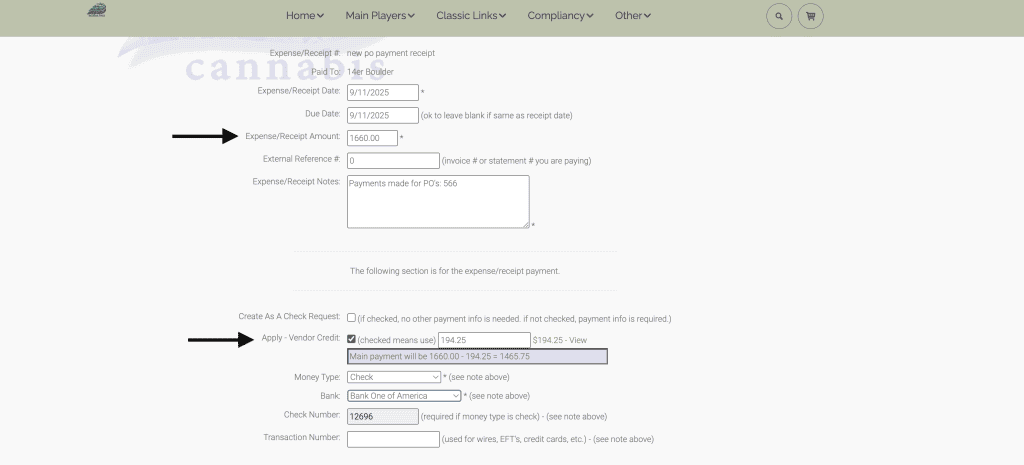
This is the same payment flow as before, only now you can apply a vendor credit to reduce the amount you owe. As you can see below, the PO amount is $1660. You can choose to apply the entire vendor credit, or you can change the amount in the box to a lesser amount. In this example, we used the entire vendor credit.
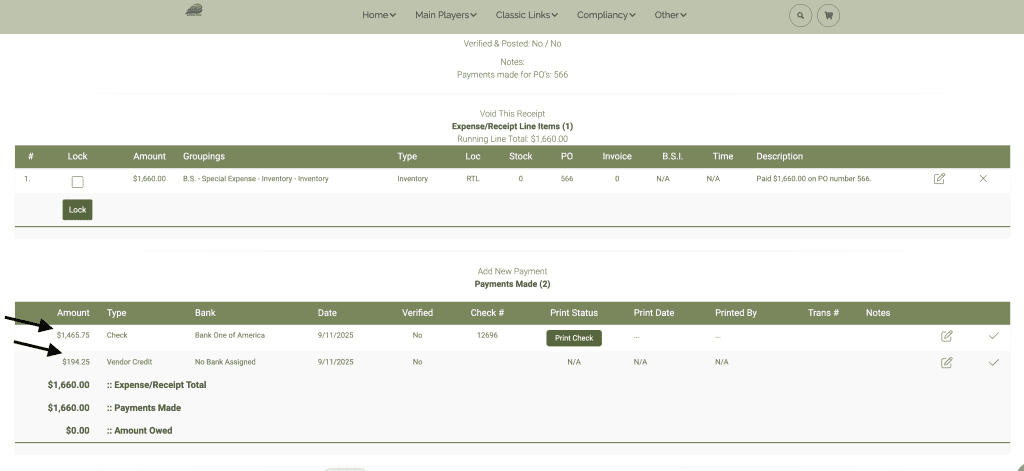
Now when we go and look at the expense receipt, we can see there are two payments: one is the check and one is the vendor credit.
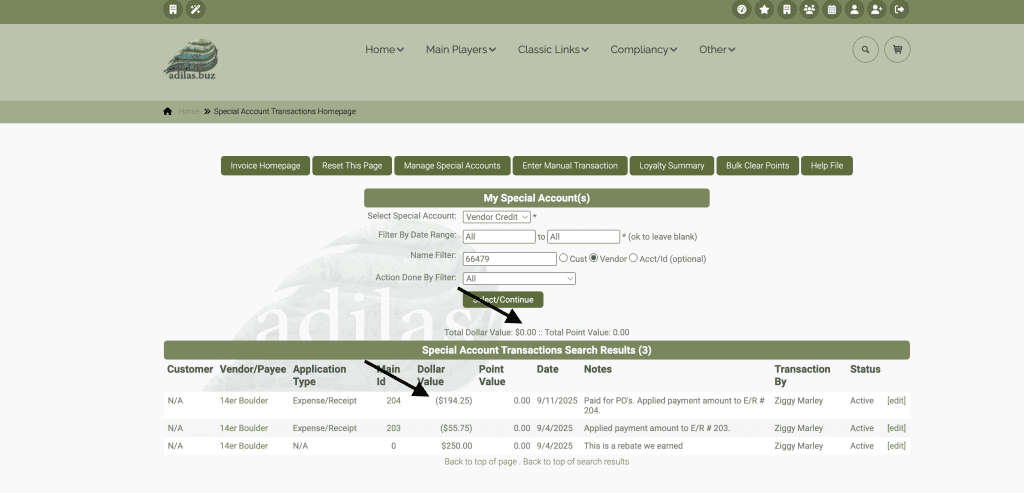
If we go and look up this vendor, click on more options, and click on the vendor credit link, we can see that the vendor credit is now 0 and how it was spent.