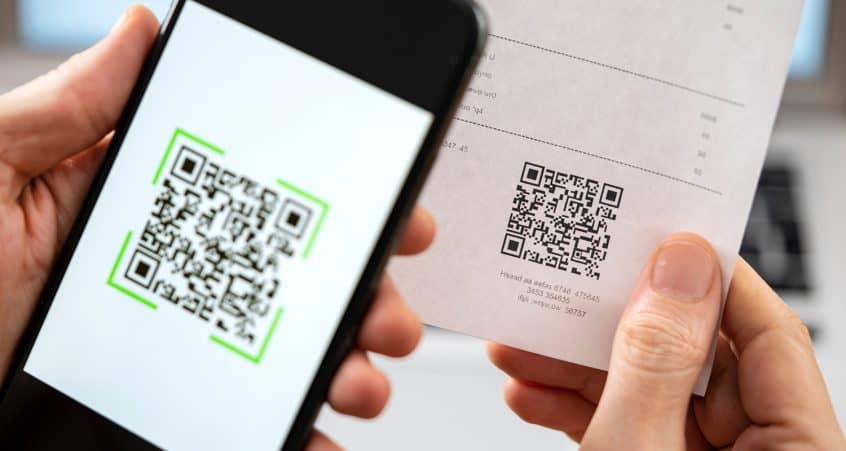
New settings allow you to add a QR code to the printable invoice for the mini version. If you would like the QR code on another printable version, please contact us and we can get you a quote.
Click here to watch a quick video on how to set this up or keep reading below.
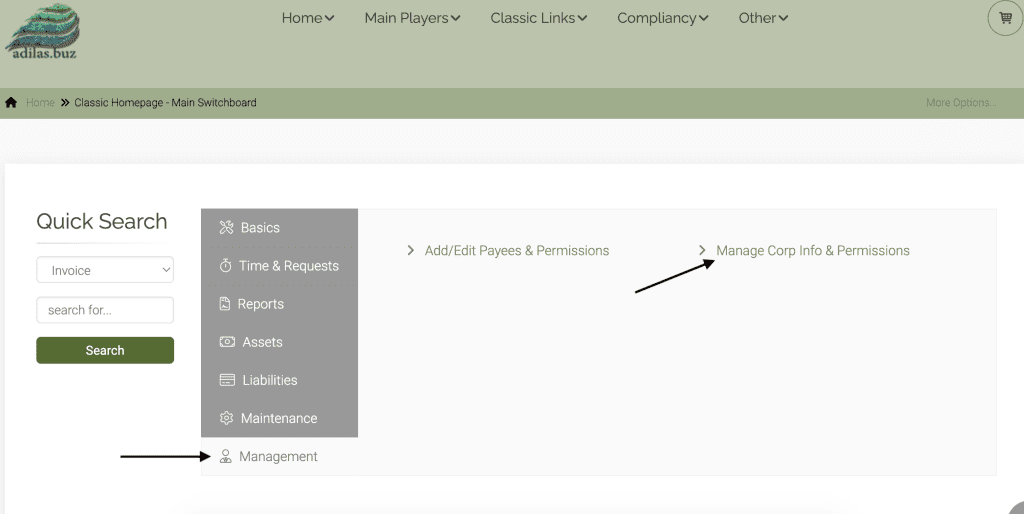
To turn on these settings, go to the corp wide settings. From the classic homepage, click on System Management. Click on Manage Corp Info & Permissions.
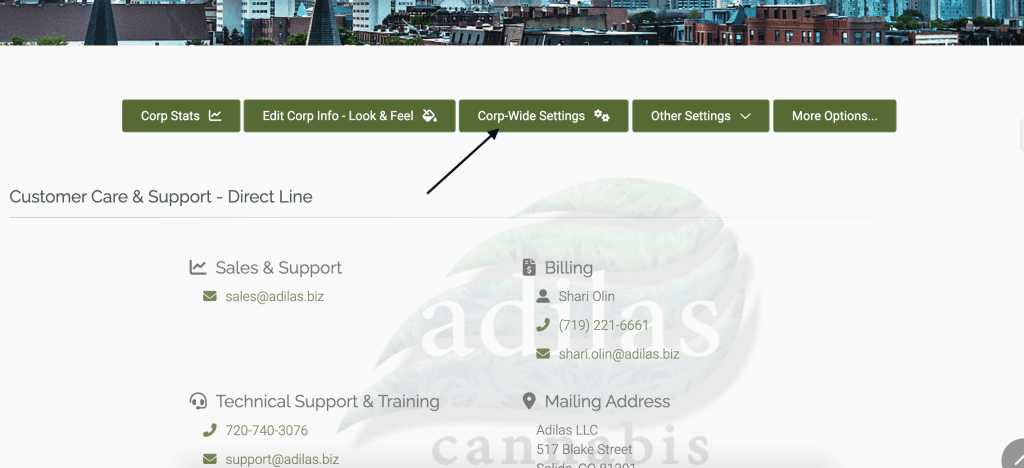
Click on Corp wide Settings.
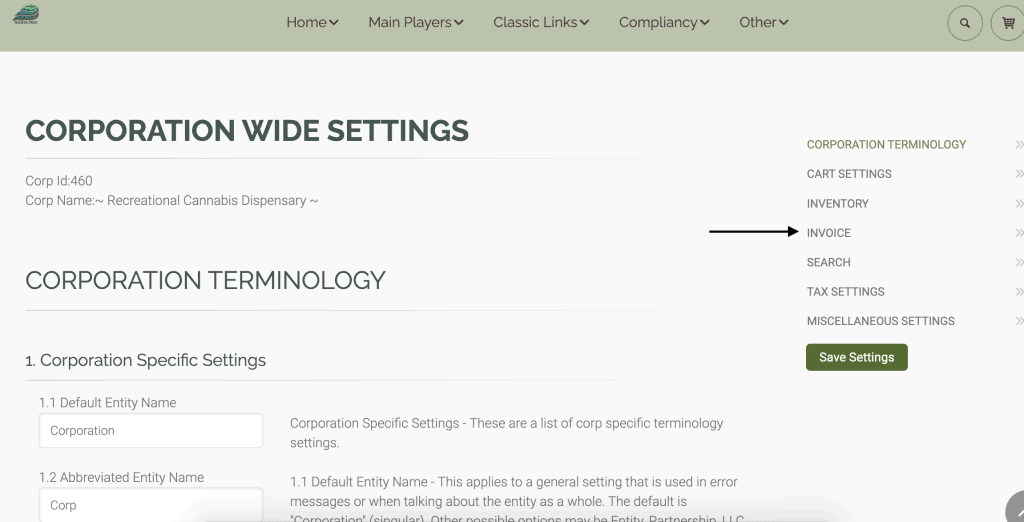
On the right side of the page choose the link for invoice.
Scroll down to #9.1. Choose the mini version with QR code from the dropdown list. **Make sure to save your settings. You will need to navigate back to Invoice setting #9.1 and click on the button for settings. (see below, #3).
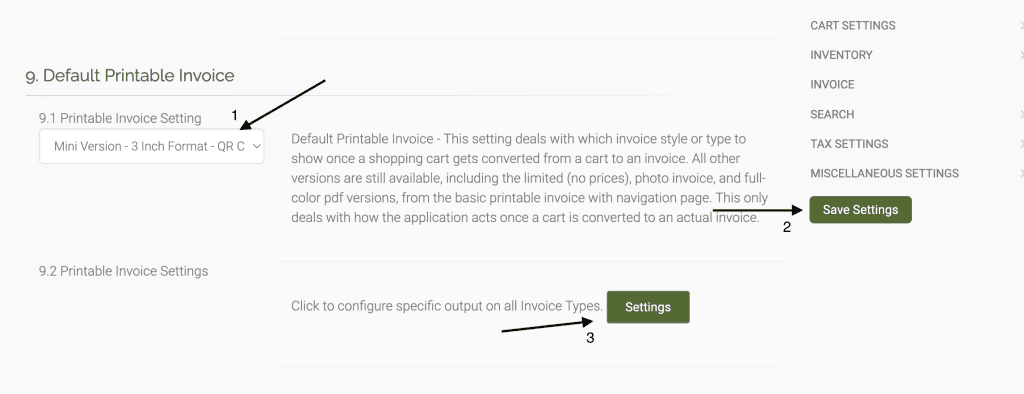
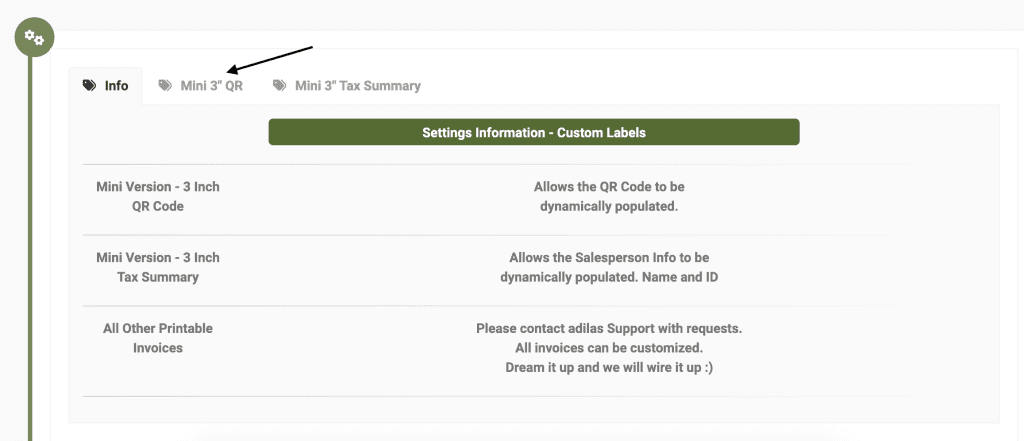
The green settings link will take you directly to the page for setting up your QR code. Choose the mini 3″ QR tab.
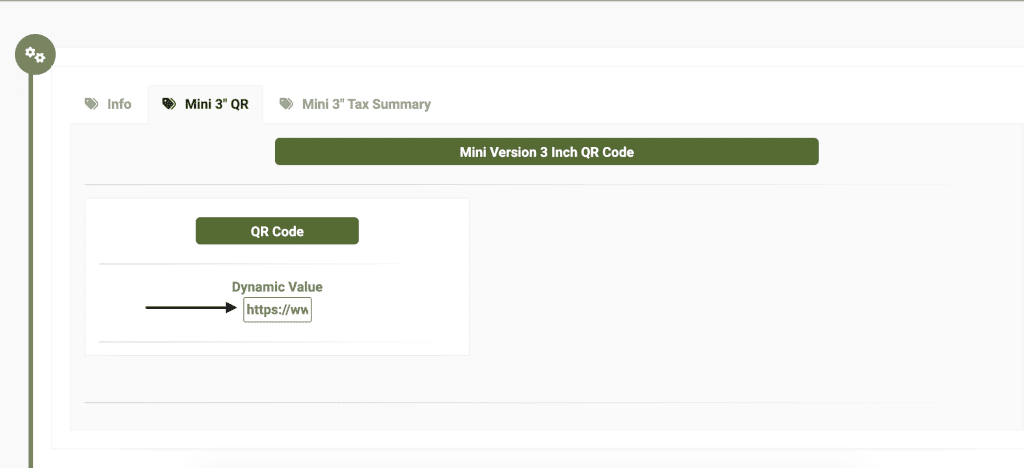
Enter your information in the blank field. Hit submit.
The next time you create a new invoice the QR code will print on the bottom.
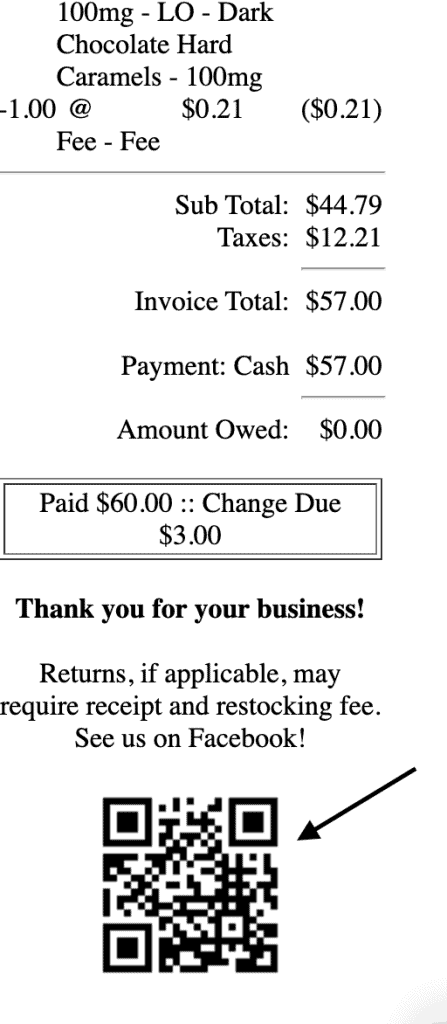
** Please note: The QR code will only appear at the time when the invoice is first created and waiting to be printed. Existing invoices will not show the QR code. This functionality is coming soon.
**You can edit these settings from your invoice homepage by clicking on the ‘?’ on the right side of the page.
As always, please feel free to reach out to technical support at 720-740-3076, or email support@adilas.biz if you have any questions, concerns, or suggestions.


